 When using a reamer, remove the reamer from the hole and remove the shavings from in front of the blade every few rotations. Sliding the blade sideways in the reamer is an easy way to do this. To adjust the angle of the hole you are reaming, push the reamer in the direction it needs to go, while keeping it seated in the hole.
Aggressiveness of the cut can be adjusted by turning the adjusting screw; turning the screw clockwise will increase the cut, counterclockwise will lessen the cut.
SHARPENING
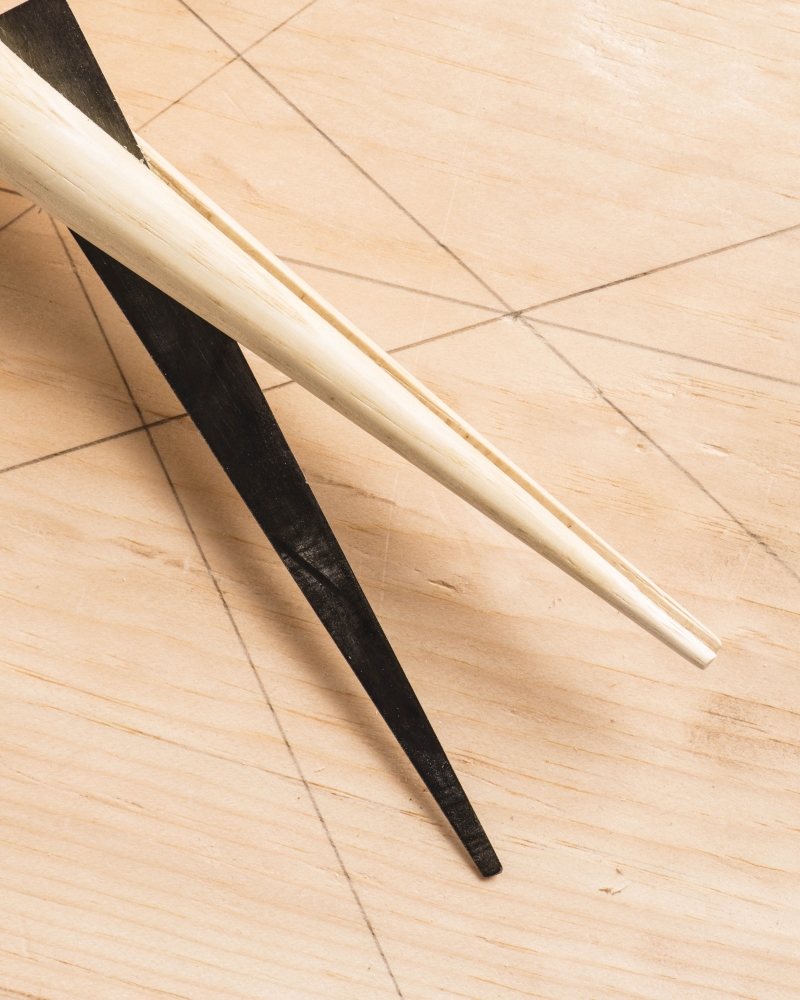
The reamer blade is sharpened on the same principal as a cabinet scraper. Honed to a fine edge, the blade is then burnished with some sort of hard, smooth metal, such as the back of a chisel. This produces a burr, which is what does the cutting.
To re-sharpen the blade, take a burnisher (the previously-mentioned chisel) and hold it flat on the back of the blade. Rub the burnisher lightly along the length of the blade a time or two. This rolls the burr to the other side of the edge. Flip the blade over, hold the burnisher on the bevel and run it along the length of the blade. On the next stroke, lower the handle of the burnisher a little. After four or five strokes, the burnisher should be perpendicular to the blade. Repeat for the other edge. You should only need to sharpen the blade once a year at the most. After a few sharpenings, the burr will start to crumble. When this happens, hone the edge like you would a chisel, and then burnish it as described above.
 TIGHTENING BLADE
Sometimes reamer blades get loose and start falling on the floor. They can be tightened by clamping the reamer in a vice with the blade out, heating the reamer till it’s too hot to touch (a heat gun works well), leave it in the vice till it’s cool and repeat as necessary.
REAMING HOLES IN A WINDSOR SEAT
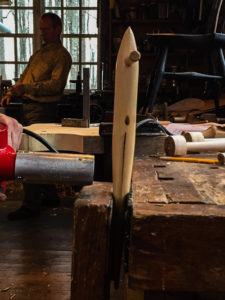
Curtis Buchanan taught me this method of reaming holes. I use it on every chair I build. Clamp the seat horizontally on the bench. Balance a try-square on the sight line (highlighted in red in the photo at left), with the blade sticking vertically in the air. The body of the square should be perpendicular to the sight line, with the corner of the square just touching the sight line. The square should be about halfway between the hole you are reaming and the edge of the seat. Now sight from the point on the top of the reamer, to the edge of the square that is on the sight line, to the sight line on the seat. Make those three points line up and bang, you’ve got the correct angle in that plane.
Set a bevel square to the resultant angle (the angle between the seat and the reamer) MINUS half the taper of your reamer. For example, if your resultant angle
is twenty-four degrees and you are using a six-degree reamer, set your bevel square to twenty-one degrees. Push the square up against the reamer, and you’ve got the correct angle in the other plane. Another option is to make yourself a large bevel square, set it to the actual resultant angle (in the example, twenty-four degrees), and line it up with the cylindrical section of the reamer. In chairmaking as in life, options are plentiful.
TROUBLESHOOTING
Squeaking: If the reamer makes squeaking noises, either the chips need to be cleared from in front of the blade or the blade needs to be set more aggressively.
Chattering: If the reamer grabs and chatters, set it less aggressively. Try retracting the blade till it won’t cut, then advancing it till squeaking goes away and it cuts smoothly.
Tearing the Hole: See chattering above.
Reamers can be purchased here.