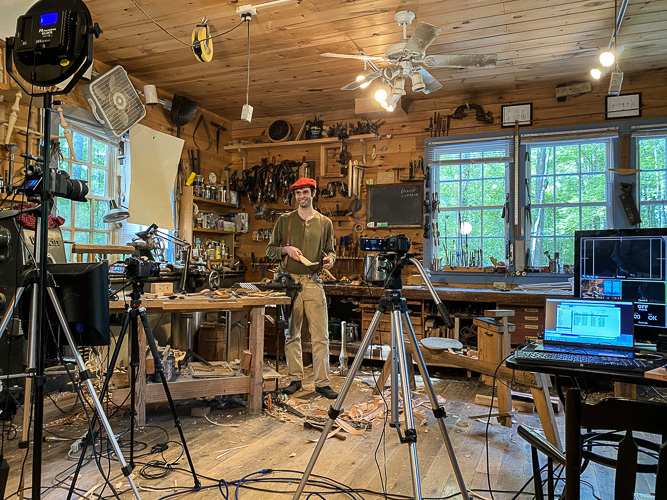
VELDA’S CHAIR & ROCKER CLASS with CURTIS BUCHANAN & ELIA BIZZARRI
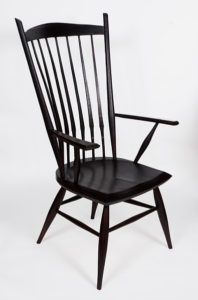
One of Curtis’ most popular chairs, Velda’s Chair has rarely been offered as a class–until now! Curtis and I team up for a 10-episode series to build both the arm chair and rocker versions of Velda’s Chair. We’ll show every aspect of building the chair, from procuring wood through the final assembly.
RECORDINGS
Ten Part Set
Purchase the entire set of ten recording for a discounted price of $165.
Part 1
 We talk about wood options, then split a spindle and shave it to its finished shape. After steaming the spindles, we limber them and bend them over a bending form. We shave a rectangular crest blank and bend it. We talk about drying these parts in a homemade kiln. $20.
Part 2
After turning a few sample parts, we also demonstrate how to drawknife the same parts. Then we bore spindle, leg, arm stump and post holes into the seat. $20.
Part 3
We cut the tenons on the legs, then ream the legs, posts and arm stumps into their holes. Starting with an adz, we carve the bowl of the seat; we clean it up with an inshave. $20.
Part 4
Beveling begins as we finish the front of the seat, then turn our attention to the undercarriage. Stretcher mortises are bored and stretchers measured, then cut to length and tenons sized. We assemble the arm chair undercarriage. $20.
Part 5
Rocker slots are marked, measured and sawn. After the slots are chiseled to fit the rocker blades, we measure to get the rockers parallel with each other, level left-to-right and tilting towards the rear of the seat a comfortable amount. Then we chop the bottoms of the slots with a chisel and walk through assembling the undercarriage. Half way done! $20.
Part 6
We level the armchair undercarriage and level the leg tenons flush with the seat. Shifting focus to the top of the chair, we mark and chop the comb mortises in the posts, clean up and true the comb, cut it to length and fit the comb’s tenons to their mortises. $20.
Part 7
First we shave the bottom of the comb to a pleasing and elegant curve. Then we cut 1/2″ tenons on the spindles with a drawknife and tenon cutter. We mark the spindle mortise angles on the comb and drill them. The spindles are cut to length and test fitted, oriented to best effect. Discussion of arm assembly is begun. $20.
Part 8
First we bore mortises in the arms for the arm supports then ream and fit the arms to the chair. We turn a tenon on each arm to fit into the post and do the final shaping of each arm. Then we bore the mortises for the arms into the posts, bore separate through-holes, and make sure everything fits. $20.
Part 9
We saw wedge slots and make wedges. After beveling the tops of the posts, we assemble and glue-up the back of the chair and attach the arms, then we pin and bevel the comb. $20.
Part 10
Elia finishes his arm glue-up. The ends of the legs are beveled and the rockers are glued into their slots. We talk about finish options and Elia paints his chair during a group discussion. $12.
PLANS, MATERIALS, AND TOOLS
CHAIR PLANS: We strongly suggest that you get a set of Curtis’ plans for either Velda’s Rocker or Velda’s Arm Chair.
MATERIALS FOR PAINTED CHAIR
The entire chair, with the exception of the seat and rockers, can be built from a 36″ long section of strong, easily split wood such as oak, ash, or hickory (ideas for green wood sources can be found on my blog and and Greenwood Source List). The rockers (and usually the arms) are made from sawn boards, available from your local hardwood supplier. While riven stock is ideal for the turnings, they can made from straight grained boards. You’ll also need a seat of easily carved wood like white pine, basswood or tulip poplar (I have links to seat suppliers on my Resources Page). The crest and spindles are the only parts that must be made from green wood. Green oak can be ordered through our online order form.
MATERIALS FOR NATURAL CHAIR
Curtis and I sometimes make this chair with walnut turnings, walnut/butternut seat and hickory-sapwood spindles (or white oak spindles if no hickory is available). Working walnut is much less satisfying than working oak–it cannot be split predictably and carving a seat from walnut is quite a lot of work (hence the butternut seats). I cannot supply any of these parts, except for the white oak spindles. Another option would be to use white oak for the whole chair, with a walnut or butternut seat, and fume the chair in ammonia vapors after assembly. The crest and spindles are the only parts that must be made from green wood. Green oak can be ordered through our online order form.
TOOLS: See the tool list for this class.