Reamers in the Raw

I sold my first reamer in 2004 or 2005 for about $40. Compared to the reamers we make now, it was a pretty rough affair; I ground the blade from a Stanley compass-saw blade and made the body from a maple blank for a Windsor chair leg. Since then, the price of our reamers has skyrocketed, and for good reason. We’ve been improving them for twenty years, and this has only increased the time it takes to make them, and the expense of the materials. But I wouldn’t be able to afford one of my reamers if I was a 17-year-old kid getting into woodworking now.
Because of this, I’ve decided to try selling a new product: Reamers in the Raw. They are the same as our finished reamers, but they still need a finial fitting to make them cut evenly. They also need the ends trimmed and a handle made (the blade comes sharpened and ready to use). They can then be finished to your specifications (or left unfinished). Included with the reamer is access to the second half of my online reamer-making video which details the steps needed to finish these reamers.
This is not a money-making venture. Rather it is an attempt to make our tools more accessible to people who will use them. So I am selling these reamers for half the price of a finished reamer: $70. If there’s interest in them, we’ll keep offering them (and maybe offer Travishers in the Raw as well).


Tenon Cutter Giveaway
These tenon cutters were donated by a former student who has retired from his chairmaking hobby. We’d like them to go to someone who would have trouble affording them and would use them a lot. If you know someone like that, please nominate them (or yourself) in the comments section. I’ll pick a winner and mail the set of three tenon cutters to them. (Our tenon cutters have progressed a long way since these were made, but I’ve tested all three of them and they seem to be working quite well. It’s our usual set of three cutters: one 11/16 one for legs, one 1/2″ one for arm stumps or posts, and one 1/2″ cylindrical one for spindles.)


A Big Long Trip (and a sale on online classes)
I’ve been gone for what seems like forever. In the beginning of June, my wife and I went on vacation for a week with the ultimate goal of Eric Cannizzaro’s shop in Vermont. There I taught a green woodworking class with Eric for a week.

It’s a pretty idyllic spot. We made spoons and fan birds, brooms and pitch forks. The pitch forks were my favorite, and a lot of the student’s favorite too. I had new information from Peter Follansbee about setting the bends, which was a lot of fun:

From Eric’s, I visited George Sawyer and his sister Annie:

Annie was around when I worked with their father Dave fifteen or twenty years ago, but George was off in school or somewhere so I’m just now getting to know him. Nice guy. Then I went to Old Sturbridge Village for my third viewing of the Samuel Wing collection to answer a few leftover questions for my book. The most interesting thing I found was these three unused spindles that have funny convex facets on them. Could have been done with a convex spokeshave, but I’ve never seen a wooden-bodied version of that tool. Maybe it was done with a hollow pane? I’ll have to try it:
F
From there I went to eastern Mass to spend a week with Peter Follansbee:

We built a “Samuel Wing” chair together and talked about old woodworkers we knew:

And I found four boxes of additional Samuel Wing Documents at the Sandwich Historical Society and Glass Museum:

Then I went to the Jersey shore and looked at a mid-19th century collection of chairmaking tools in the storage facilityof the Monmouth County Historical Association, including this rare chairmaker’s low bench:

And a box of unused spoon bits:

From there I went home. It’s really nice to sleep in my own bed again.
——————–
P.S. I have decided to offer my first-ever sale of online classes. From now through Sunday, all the classes I did with Curtis Buchanan are 50% off.
Velda’s Chair: We make a rocker and and an arm chair in this ten-part series. Nearly 20 hours of content. $82.50 through July 7th.
Democratic Chair: Seven episodes on making Curtis’s Democratic side chair. $50.00 through July 7th
Spoon Carving: We make one of Curtis’s steam-bent spoons in this 2-hour video. $10 through July 7th
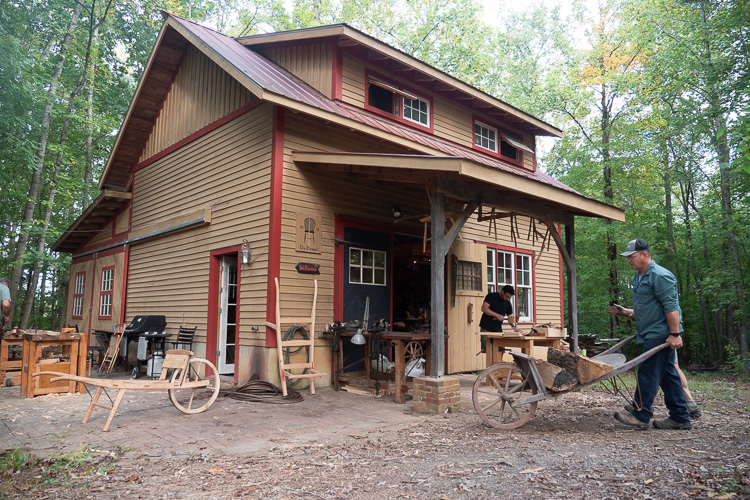
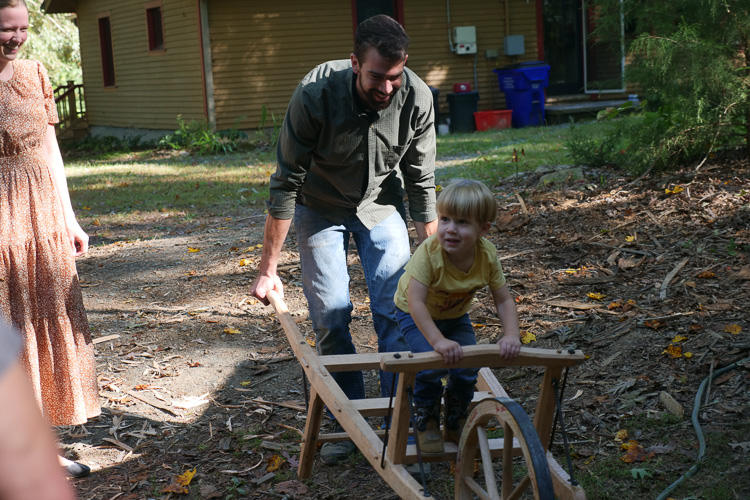
A New Wheelbarrow Class
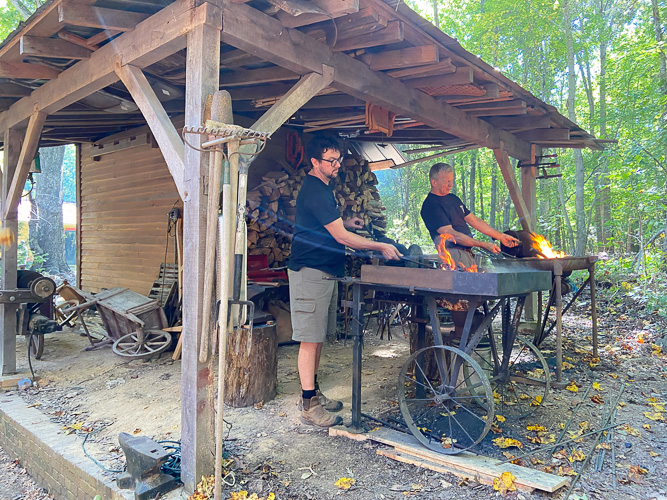
Peter and I are at it again. Last year’s wheelbarrow class was so much fun we’ve decided to do it again. A local sawmill is at work sawing one of the last green ash logs in the Piedmont for barrow frames (no thanks to you Mr. Emerald Ash Borer) and we’ve got Roy Underhill’s foot-powered mortiser in the wings ready for mortising emergencies. Should be a grand time. Here’s the details:
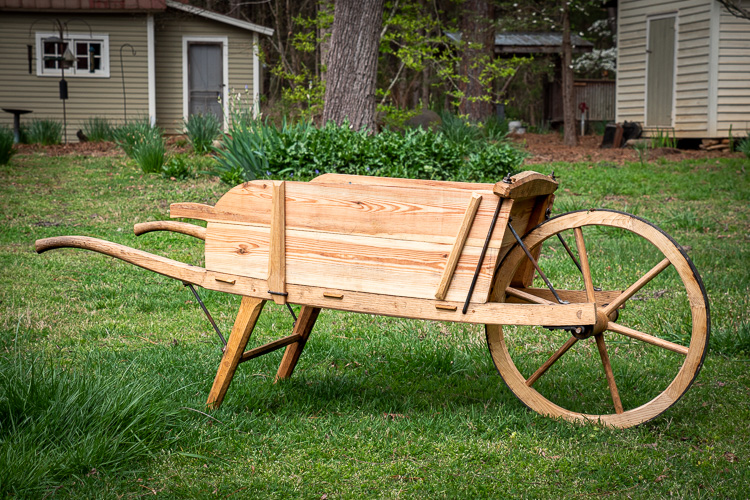 Learn to make a traditional wheelbarrow! First, Elia will help you mortise the wheel’s hub, shave its spokes and fit its fellies. With the wheel under way, you’ll begin learning basic blacksmithing techniques as Peter helps you forge the brackets and braces for your wheelbarrow. Peter will make the tires for the wheels, then we’ll heat them in a fire, tap them onto the wheels, then dunk the wheels in a vat of water to shrink the tire and lock the wheel in its iron grip. Once the wheels are done, we’ll begin mortise-and-tenoning the barrow’s wooden frame. Students will go home with a finished wheel and a partially-completed barrow, plus all the parts and knowledge needed to finish it.
September 9th-14th, 2024
Visit the Traditional Wheelbarrow page for more info and to register read more…
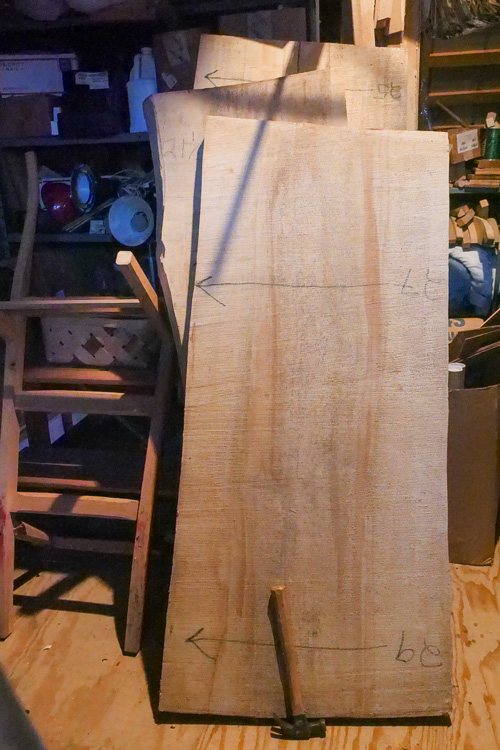
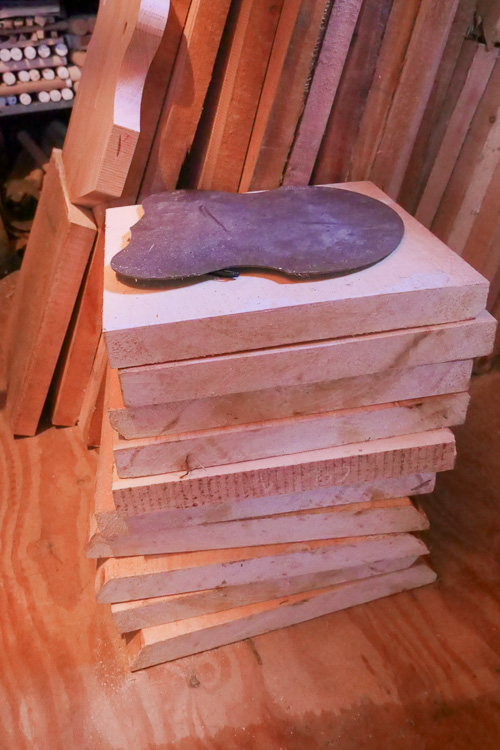
Seat Blanks for Sale
I’ve been doing some spring cleaning. Yesterday and today I’ve been hauling pine seat blanks into the attic from where they’ve been air-drying outside. Before that, I was going through more seats upstairs, making room. The upshot is that I have found some surplus seats. They are surplus for various reasons. The white pine is either surplus because it has cracks (I’m selling it cheap for glue-ups) or because I found a pile of nice seats that I sent with Seth to the Handworks show in Iowa. Some of these seats came back, so I figure I might as well throw them in here. The rest of the seats are surplus because they are of a species that I am no longer interested in making seats out of. I’ve gotten lazy in my old age and don’t want to mess with anything but white pine and butternut. So I’m posting them here. (Some of it is long enough to make table tops if you’re so inclined.)
Please Note: I really don’t want to ship these seats. This is for a couple reasons. I don’t know how to grade these things. Plus I live in humid NC and, while the seats have all been air-dried for several years, they are still somewhere between 10 and 20% EMC. I don’t know what they’ll do if I ship them to the desert. All told, there’s too much room for disappointment. But if I can’t sell them otherwise, I might be willing to ship some of them without a warranty. It makes my nervous, but I need them out of here and they’re too good to burn.
With that in mind, here they are:
Buckeye: These are the widest seats I’ve ever had. The one in the photo is 27 to 29″ wide and well over 2″ thick. It may be close to 2.5″ The ones that I have carved had some curl – pretty, but tough. They also grew with a twist, which means they are more likely to twist. These broads are six or eight years old and still pretty flat, but that can still change. I have three boards, 5-6′ long. $4/bf
A stack of nice white pine seats. Came from Michigan. $70/seat (I definitely will not ship these, but these folks do)
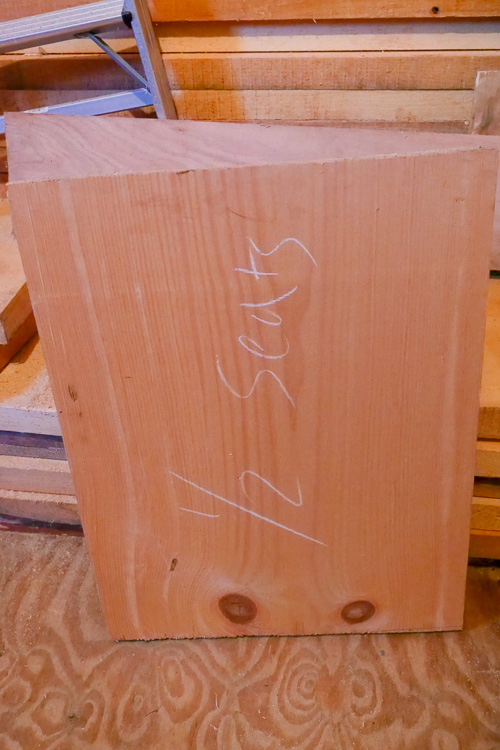
White pine for two-piece seats: I have enough of this for maybe 10 or 15 seats. $3/bf
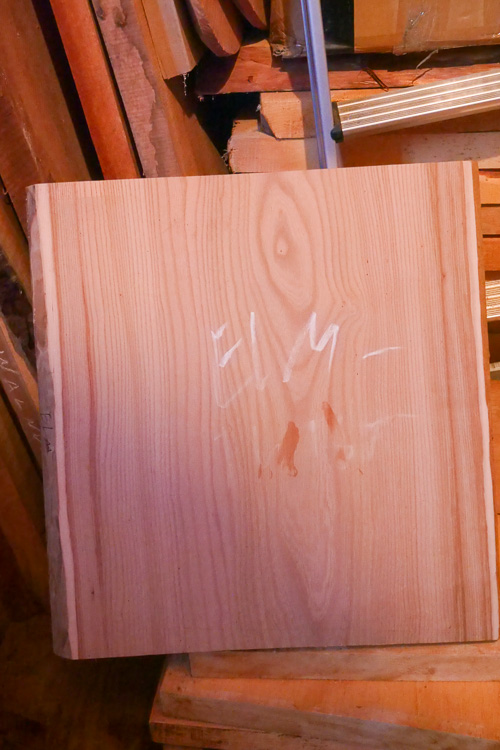
Elm: This stuff is very hard. It’s also rather pretty, in a greenish sort of way. Like all elm, it has interlocking grain, which makes it impossible to split (a benefit for seats), very hard to carve, and very likely to twist. Most English Windsor chair seats were made out of this stuff. I have a half dozen boards of varying widths up to 22″ or so. They’re maybe 6′ long. $5/bf
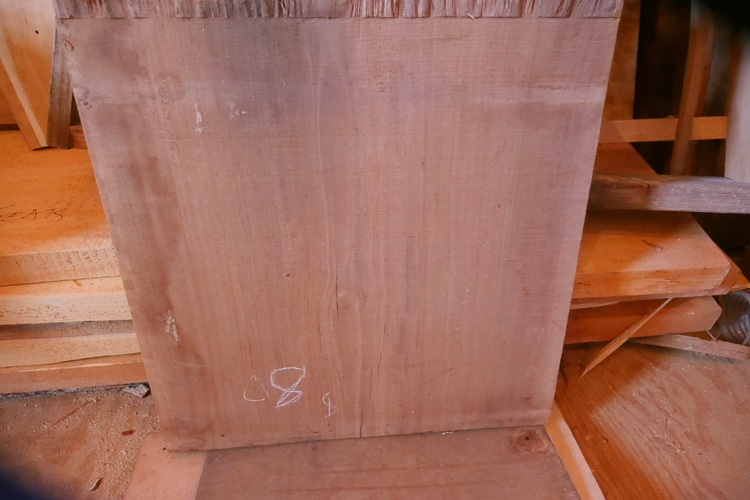
Walnut: This is mostly some stuff that I had sawn eight or ten years ago. It’s really nice walnut, air-dried with lots of color. Most of it is pretty clear. Some of it is 8′ long or so. $120/seat (this one has a couple cracks, so it’s $80)
Greenwood Week with Eric Cannizzaro & Elia Bizzarri
I’m excited to be teaching this class again. It’s the kind of woodworking I love best, and I love getting to share it. And I’m especially excited to be teaching with Eric Cannizzaro again – he’s an excellent chairmaker, a good teacher and a really nice guy. I’ve never been to his shop before, but he’s spent the last couple years improving it and it sounds really nice. Here’s the class description:
Spend a week working wood as nature intended. We’ll begin with a walk in the woods and learn how to identify several useful tree species and how to pick a good tree for green woodworking projects. Then we will return to the shop to split and rive parts from an ash log to start our first project. A variety of projects will teach us how to exploit wood’s strengths and weaknesses for our benefit. Emphasis will be placed on learning fundamentals that can be applied to a variety of projects, green or dry. Projects options include spoons, pitch forks, brooms, firewood carriers, tool handles, fan birds sharpening and other projects useful and otherwise. A pole lathe will be on hand for fun and turning.
The class takes place at Eric Cannizzaro’s shop in Charlotte, Vermont. The class is open to 8 students. We will also offer a work-study position to someone for whom money is a barrier.
GREENWOOD WEEK, June 10th to 14th, 2024 – $1000
For more information, visit the Greenwood Week page.
Eric’s Shop
Of Chair Design and Chair Classes
It’s been a long time since I’ve posted on this blog. It seems that spending hours each day sitting in front of a computer writing a book, limits my motivation for sitting in front of a computer writing a blog post. Oh well. The book is coming along great – I have a few small sections to write, a few hundred photos to take and I’m waiting on Lost Art Press to read it and tell me else I should do. I’m glad they’re busy. I am too.
There’s been lots of unexpected rabbit holes. They are all fun. The biggest one has been trying to work out how Samuel Wing designed the chair. I sat down one night six months ago with a pair of compasses and, within an hour, realized that his seat were designed with classical proportioning: all the major arcs of the seat periphery were related to each other and to the overall size of the seat. Several weeks of work followed trying to figure out what it meant. I sent several emails calling for help, filled with photos like this:
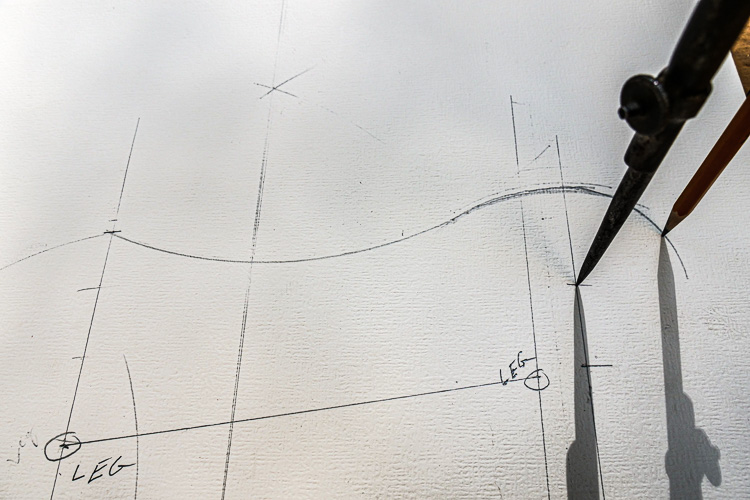
Mack Headley, former master cabinetmaker at Colonial Williamsburg, responded with this:
I found your diagnosis compelling. The numbers add up to some potential patterns. 15”/6=2.5”x5=12.5”/2=6.25″
I scratched my head for awhile and asked if I could come for a visit.
At the beginning of January I drove to Richmond, visited friends and ate the best Chinese food of my life, then drove to Mack’s shop where he and his wife promptly fed me lunch. After four hour’s work, we came up with this: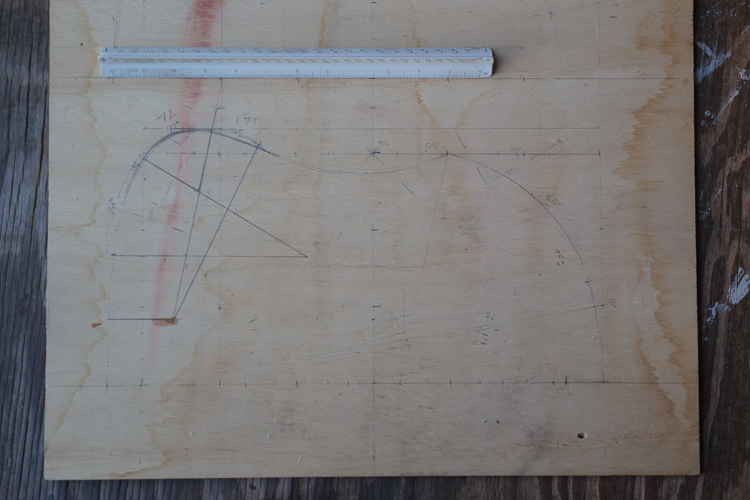
A vast step forwards. We’re still working on it though. When we’re done, you should be able to draw the entire seat pattern on a blank sheet of paper using nothing more than a rule, square and five or six compass settings and be done in fifteen minutes. On my way home I stopped at Colonial Williamsburg and visited with Brian Weldy at the joiner’s shop and spent a couple hours in the collection looking at loop back joints (there’s more options than I can count).
Back home, I did a demo at the state history museum:
And got ready for my first 18th Century Chairmaking class (or at least the first one anyone has paid for):

Eric Cannizzaro came to hang out and make pitch forks: read more…
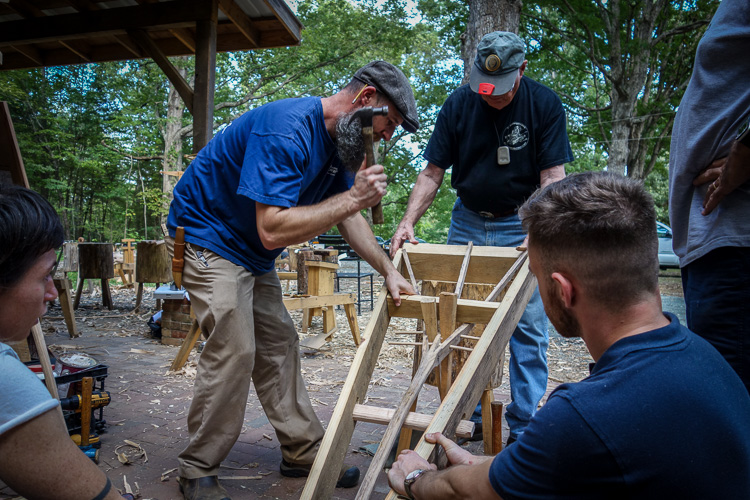
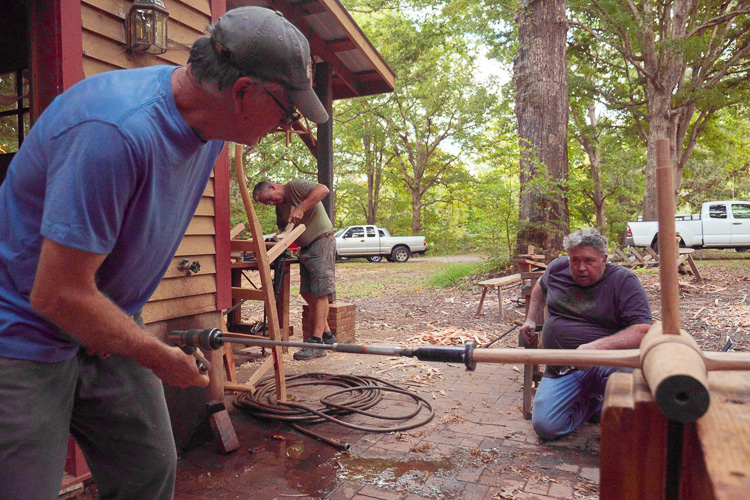
Wheelbarrow Making Class Photos
Last week’s wheelbarrow making class with Peter Ross was a great success. And a lot of fun.
First everyone spent a day moving my firewood around, so they could learn the proper use of a wheelbarrow. (I’m mostly kidding.)
My mentor Curtis Buchanan took the class, which was really wonderful.
“I’d like to go home and make another wheel,” Curtis said on the last night. I offered him some wheel wood the next morning as he was loading up, but he’d come to his senses by them. Once a chairmaker, always a chairmaker.
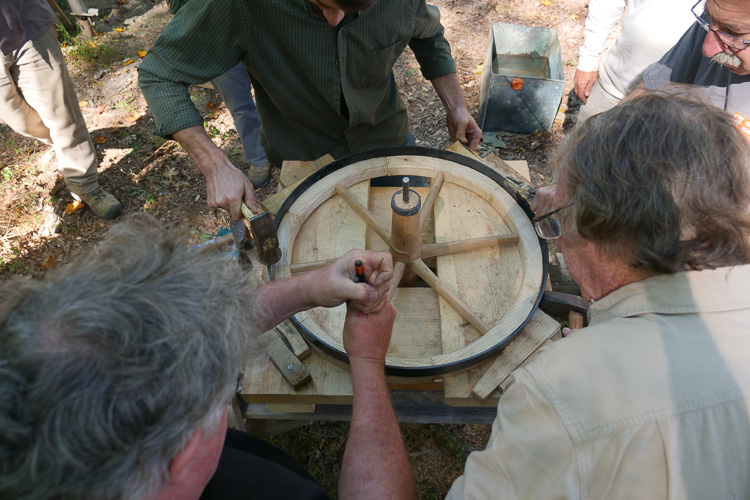
Peter Ross brought a couple forges and everyone made brackets for their wheelbarrows.
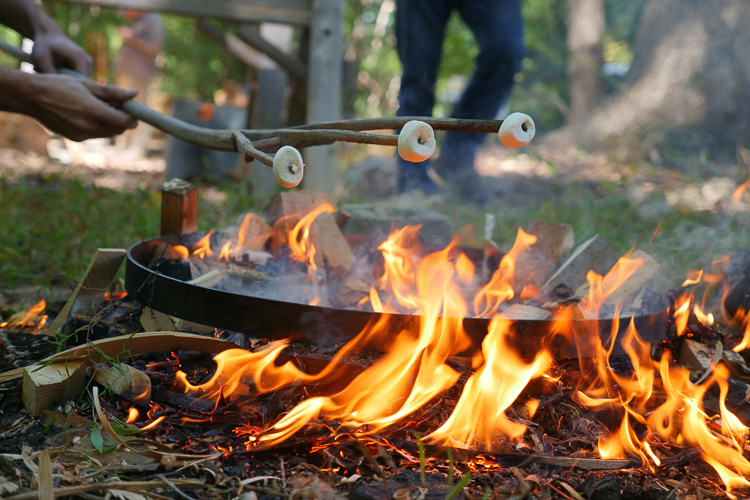
We cooked the tires in a fire…
…and hammered them onto their wheels….
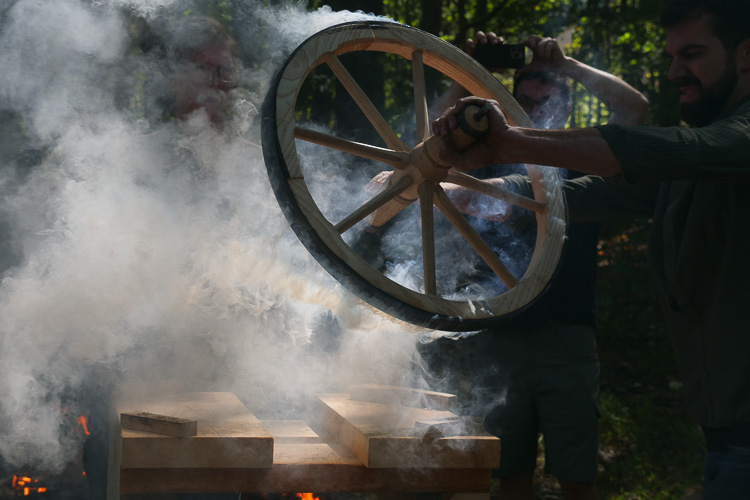
…then quick, before it catches fire….
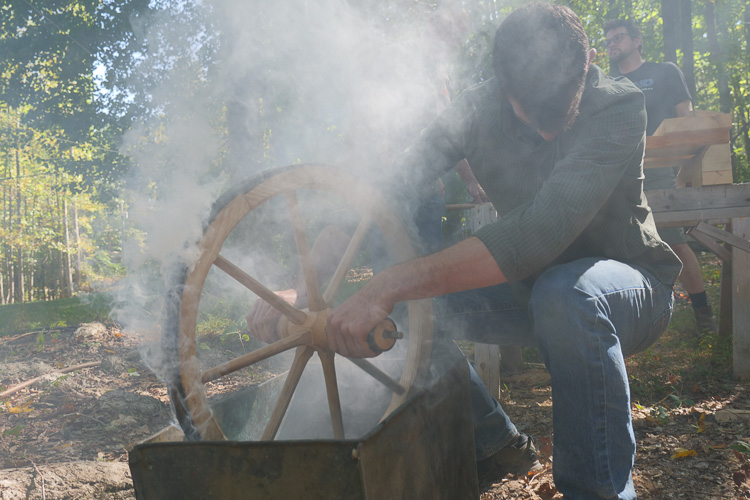
…quench the tire in a vat of water.
Texas chairmaker Blake Loree even got his wheel mounted and took his son for a test drive.
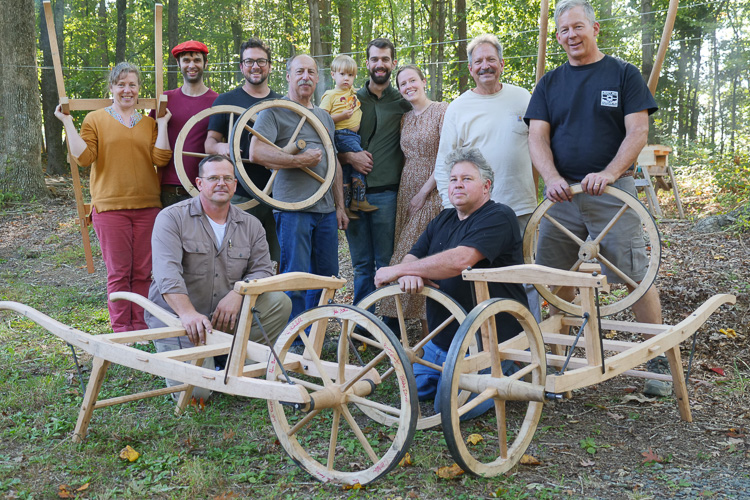
All done! (thanks to Roy Underhill for the photo)
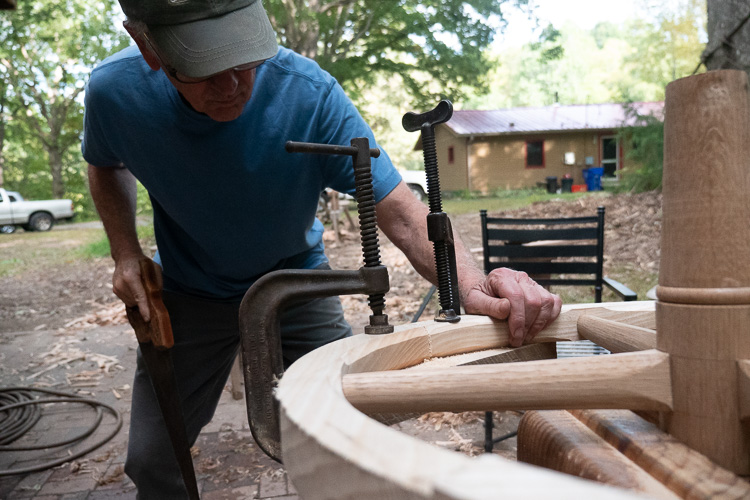
It’s round!
I’ve been getting ready for the wheelbarrow class in a couple weeks, including building some test wheels. Here’s a finished wheel:
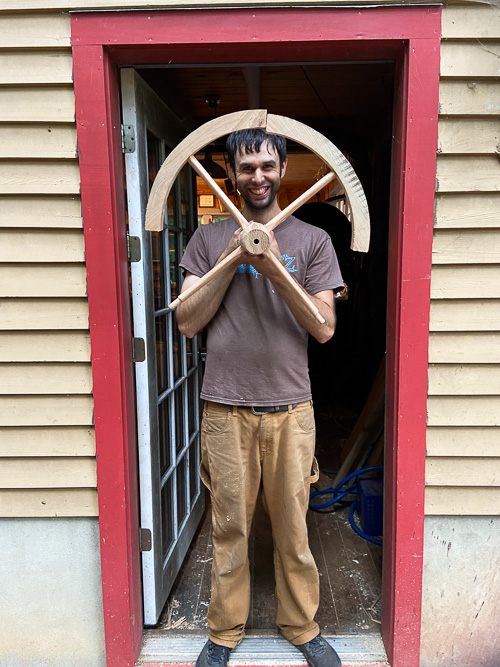
Oops! Wrong photo! Here’s a finished wheel:
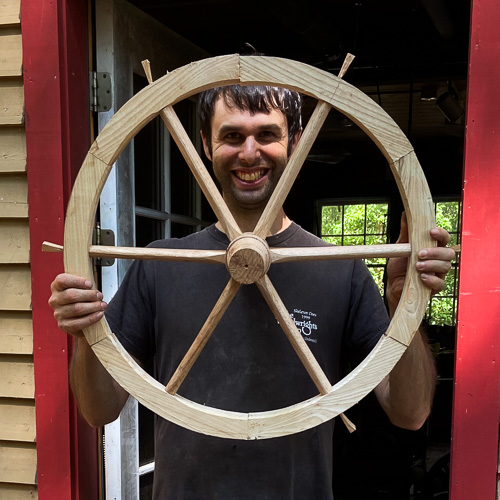
Well, at least the wooden parts are done – now it’s off to Peter Ross’s to shrink the tire on. Making wheels is really fun! I’ve learned a lot (I’ve only made a handful of wheels in my life). One of the best ways to learn is by watching people who know what they are doing, and the people who know the most are people working in a centuries-long craft tradition. There may not be wheelwrights like that in the states, I don’t know. Some other cultures tend to hold onto their traditions much longer than highly-industrialized America, so I’ve been video hunting on YouTube. This one made me realize that workbenches are mostly for people who can’t squat – the ground is a better bench than anything we can make:
Pretty amazing work, without many measurements. In fact, there’s so much skill in this video that there’s not much to see; just a guy squatting on the ground, chopping. The way they put the tire on is plenty of show for the whole video, however.
This video was highly enlightening:
The best part is at the 11-minute mark: after chopping the hub mortises and cutting the tapering spoke tenons (complete with locking notches), they boil the hubs in a vat, then drive the spokes into the softened hub. The hub must mold itself to the shape of the spokes, locking the spokes in place. Amazing! Makes me wonder if some of the locking joints that have puzzled me for so long on 18th Century ladderback chairs were boiled in a similar way. I must try it.
I love learning!
18th Century Loop Back Chairmaking Class
Boy, I’ve been busy! I taught a wonderful class with Eric Cannizzaro at Penland, NC in July, building Jennie Alexander ladderback chairs. Then my wife Morgan and I toured around for ten days, visiting family, friends and Lost Art Press in Cincinnati. Now I’m at home making reamers for Handworks where Seth is setting up a booth to show our tools (come visit him!). I’m also building wheelbarrow prototypes for my class with Peter Ross in October and finishing three or four chairs I have on order. And figuring out how Samuel Wing’s early 19th century chair seats were designed with a ruler, compass and a few ratios derived from classical architecture (I think).
Samuel Wing has been my pandemic project: In January 2020 Seth and I gave a talk at Colonial Williamsburg about early 19th century chairmaking, then in December I signed a contract with Lost Art Press to write a book about early 19th century chairmaking. I have spent the last three years learning how to build chairs like Samuel Wing did on Cape Cod in 1802. Now finally, I’m ready to share what I’ve learned:
 Immerse yourself in the tools, techniques and mindset of 18th Century chairmakers. Working from period designs (including one by Cape Cod’s Samuel Wing) we’ll build a loop back entirely with handtools. In the process we’ll become immersed in a pre-industrial mindset emphasizing strength and speed over precision. We’ll use a method of assembling chairs unknown in living memory, a method so shockingly simple that is requires almost no measuring. (Note: if you love building chairs that are measured in thousandths, you may want to look at my modern chairmaking classes where modern precision remains supreme.)
Unlike most of my chairmaking classes, we’ll do some turning: the center stretchers will be split from an oak log and turned it on a foot-powered pole lathe. Bows will be split from a log, profiled with planes and steam bent. Seats will be carved from a single piece of white pine. Tenons will be turned on the pole lathe and mortises bored with spoon bits (or a bit brace). Due to time and drying limitations, most of the turned parts (legs, side stretchers, spindles) will be provided.
January 22nd to 27th, 2024 – $1800
Register on my website.