Make a Wheelbarrow with me and Peter Ross
My wife Morgan and I got back from our honeymoon in Italy a couple weeks ago. We focused on eating and walking, but I did see a 15th century riven-oak square thing (wardrobe?) in a museum, so I know they did have respectable trees once upon a time. Now I’m back into writing my book (it’s coming along great), making a settee and a couple bar stools, and thinking about teaching again. Stay tuned for a chairmaking class (probably in December), but first, wheelbarrows.
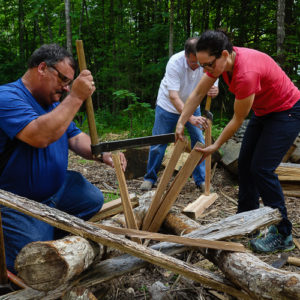
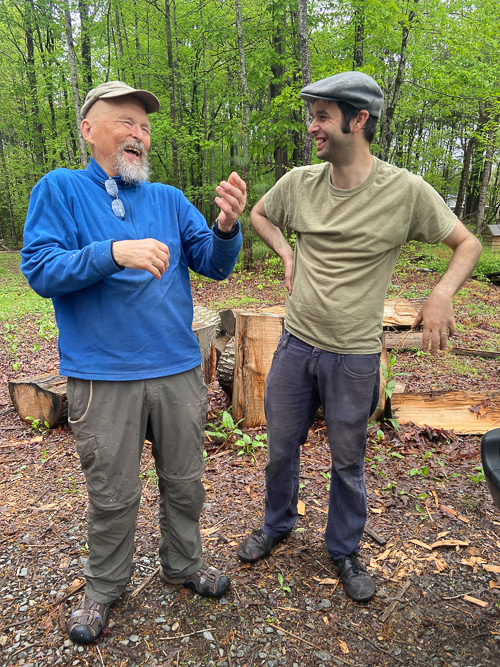
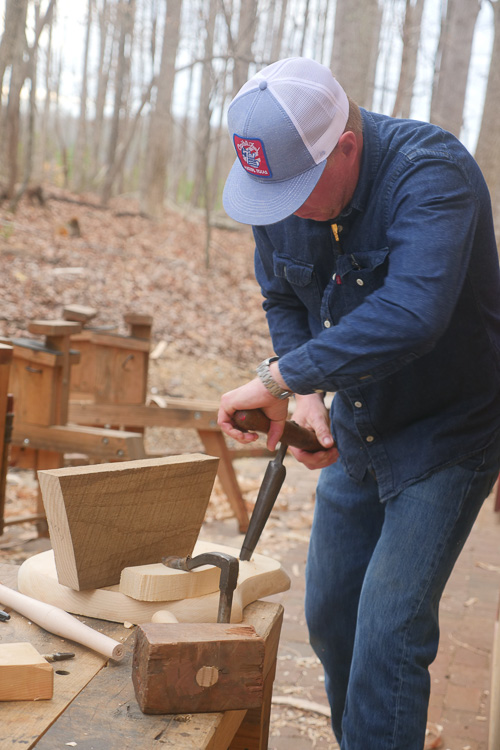
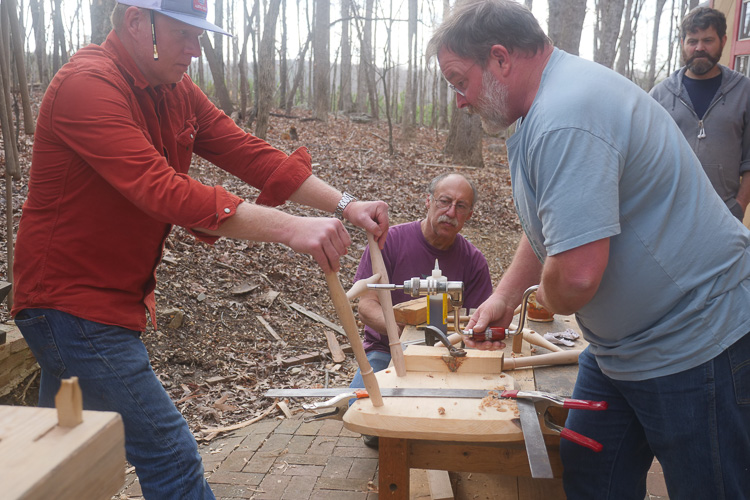
This is a class that I’ve wanted to run for years, mainly because I want to teach with my friend Peter Ross, the blacksmith. He’s someone you can’t help learning from every time you see him (and I see him a lot) – he has thought more deeply about his craft, and craft as a whole, than anyone I know. We make a good team and I think this class will be a great leaning experience about far more than simply how to make a wheelbarrow. Here’s the details:
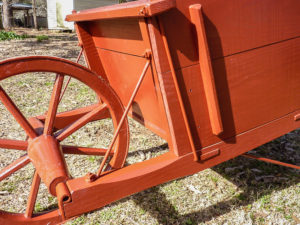
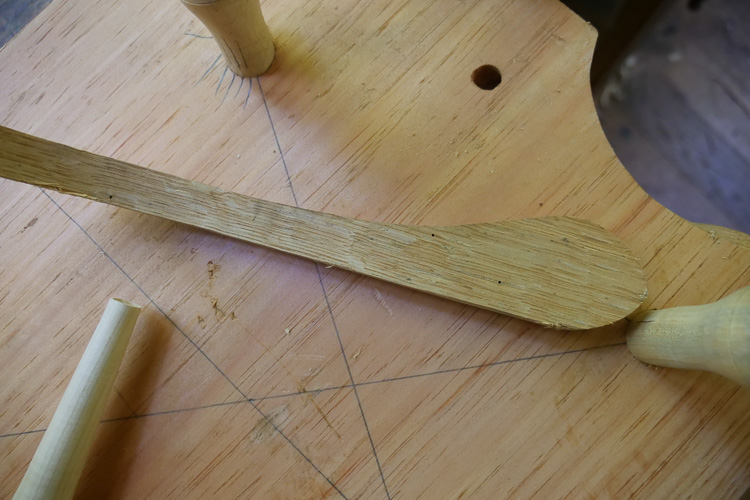
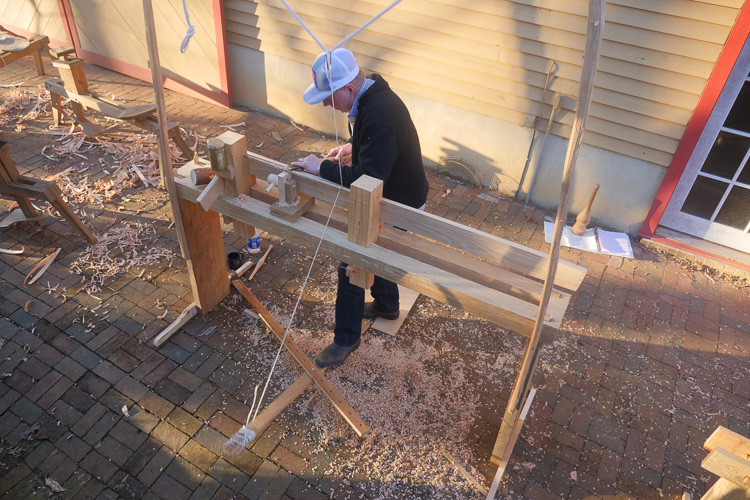
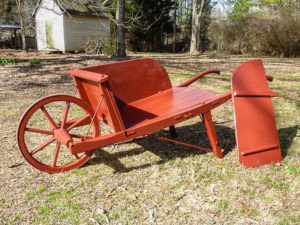 Learn traditional woodworking and blacksmithing techniques as you build a handsome wheelbarrow. Elia will help you split a log, shave the parts, split tenons with a chisel, then use dry draw-bored pins to lock the green joints together (some dry lumber may also be used). As time permits, you’ll bandsaw and chisel a wheel from dry oak boards and attach it’s metal rim (alternately, finished wheels will be available for purchase during the class). As you forge brackets and braces for your wheelbarrow, you’ll learn basic blacksmithing techniques from one of the best blacksmiths in the country.
TRADITIONAL WHEELBARROW, October 2nd-7th, 2023
Visit the Wheelbarrow Class page for more info.
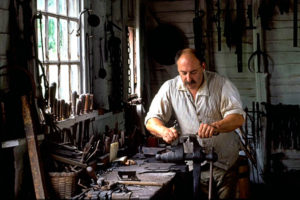 About Peter Ross: Peter is a nationally recognized artisan blacksmith. After 23 years as master of the blacksmith shop at Colonial Williamsburg, he moved to rural North Carolina and now operates his own shop. Peter specializes in museum-quality reproductions of hardware and furnishings for historic houses, working mainly with the hand-tool methods used in pre-industrial England and America.
Chairmaking class info can be found on my teaching page.
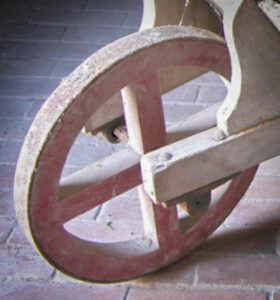
We’ll be making a wheel similar to this one.
For Sale: Continuous Arm Settee – Some Assembly Required
I’ve been rooting around in my shop’s attic and I found this partially finished chair, abandoned by a student in one of my classes long ago. I can’t remember what happened – maybe he got sick or something. I’ve been tripping over it long enough, so I’m selling it for the cost of the parts. I don’t know much about the state it’s in, so buyer beware. It lacks stretchers and spindles, but everything else is there. It was built to Curtis Buchanan’s plans.
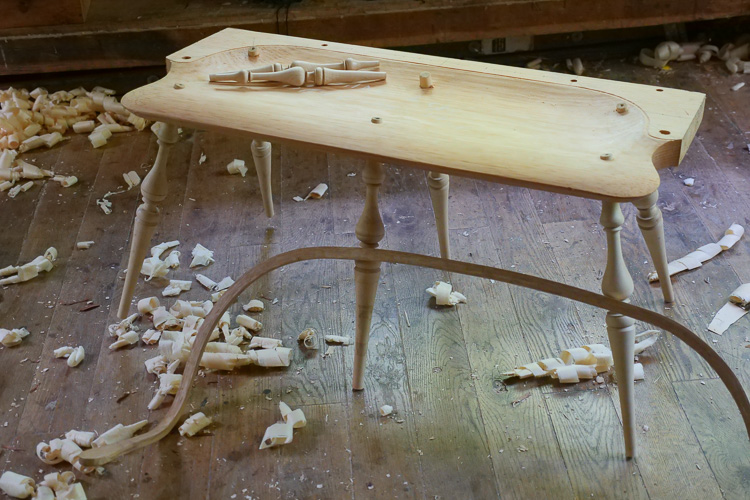
The seat is perfection as far as I can tell – a beautiful piece of pine.
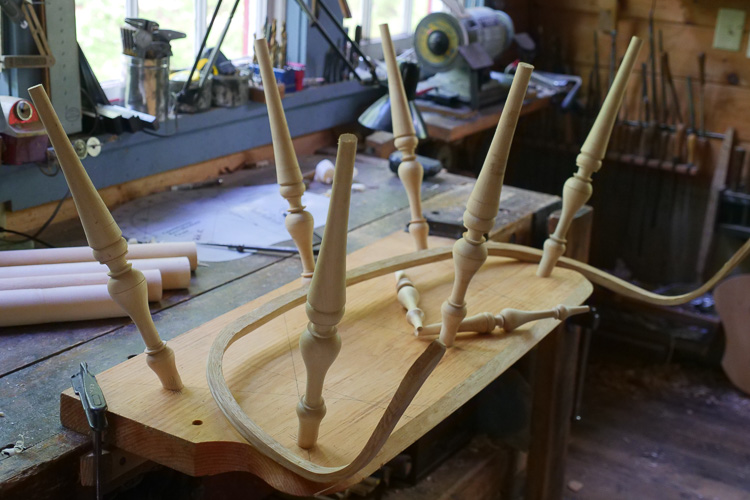
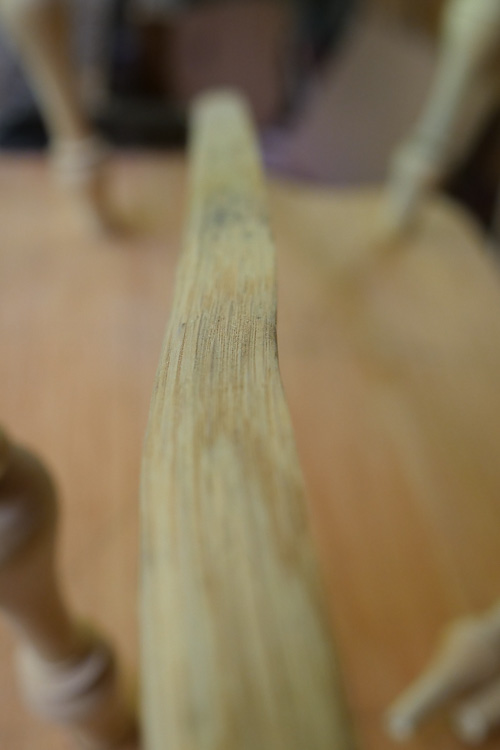
The bow has a wiggle in it…
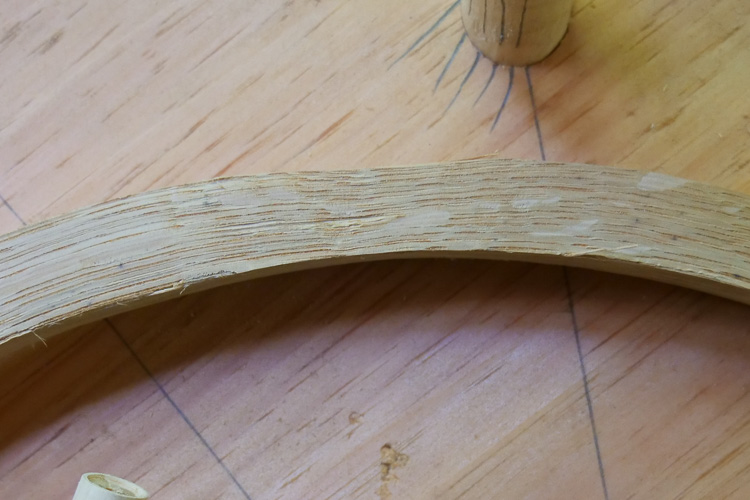
…and a thin spot…
…and some worm holes (plus the ubiquitous splinter at the elbow that needs to be shaved off). The bow should work, though it may never be totally straight.
Apparently there’s something wrong with the reaming job on this leg.
$350 plus shipping (or best offer).
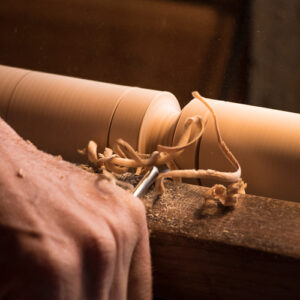
40 Chairs and a Barrel
I have just returned from a road trip to Michigan with my friend Bill Anderson. The trip had a dual focus: deliver 40 chairs and learn to make a barrel.
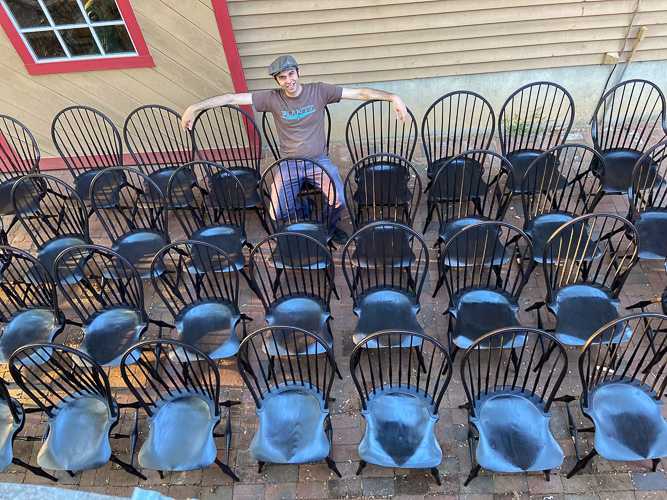
This by far the largest chair order I’ve ever gotten. What fun! I’d take another job like this tomorrow – it’s so much easier building forty identical chairs than bouncing from job to job, trying to keep track of styles and finishes.
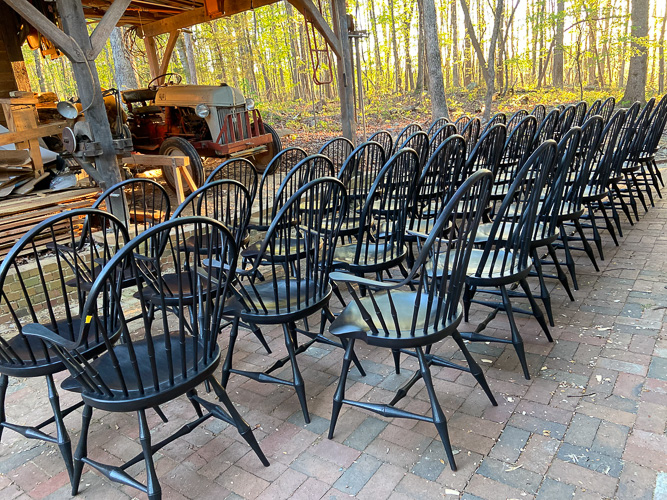
Forty chairs and a Ford.
We were excited to travel: Bill and I used to teach together at the John C. Campbell Folk School fifteen years ago, but haven’t traveled together since. Bill has a great sense of humor. read more…
Spinning Wheels
One of my readers sent me this video. It’s from 1964 Sweden, of an old fellow making a spinning wheel. The film is beautifully shot and silent, so you can can choose your own soundtrack. There’s a lot of great parts, but my favorite is the boring and reaming jigs. One of Nancy Goyne Evans’s books references 18th Century American Windsor advertisements that mention a machine for letting legs into seats, but I could never picture what that machine might have looked like until I saw this video:
The tenon cutter at the 3:00 minute mark is like nothing I have ever seen. It’s adjustable, it’s setting held in place with wooden blocks. I had no idea that a handheld tool could take a shaving that wide. I’ve started to make one for cutting leg tenons. I used an old, thick plane iron, but it’s not stiff enough and jerks into the work with a noise fit to raise the dead. I’ll try again when things slow down.
The marking stick that follows the tenon cutter uses sharpened nails to mark the work. Chair turners used sticks like this, which produced the score marks in the vases of baluster turnings. Most modern makers produce these marks with a pencil, followed by the tip of a skew. The old way works just as well and you don’t spend so much time hunting for your pencil (which you probably shoveled out the window after it fell in the shavings). read more…
Samuel Wing Chair Class
Last week I had four friends over for a trial run of a class set in the year 1803, building a copy of Samuel Wing’s loop back chair. It was a great week. We all learned a lot, none more than me. Thanks to Damon O’Gan for the black-and-white photos below:
We split, hewed, shaved stretcher blanks, then turned them on the pole lathe. This was everyone’s favorite part of the class, to everyone’s great surprise. The pole lathe is such a gentle, meditative machine; I think we could happily have spent days on them.
We splitbows from the log and sawed others from a board, then planed them all just like Samuel Wing did. To nobody’s great surprise, the riven bows bent better and the sawn bows pulled splinters just like Samuel Wing’s did.
We sawed the seats with bowsaws and shaved them in the usual fashion (with gouges instead of inshaves for the hollowing cuts).
We reamed with open-faced reamers…
…and bored with spoon bits, all with very little measuring.

Then we glued them up with the usual banging and grimacing, followed by sticky fingers…..
 ….and smiling faces.
I hope to offer this class at some point, but I still don’t know when that will be – I’m still busy writing this book and building chairs. What a great life I’ve got.
My First Chair Class in Three Years
The Penland wood shop is massive.
For the first time in three years, I am teaching a chair class. Or really a chair-and-table class. I’m co-teaching with my friend Eric Cannizzaro for two weeks at Penland in the NC mountains. Come spend your days building chairs and your evenings watching the glass-blowers, forgers, paper makers, potters and bookbinders. The food is good, the people are nice and I’m looking forward to teaching with Eric – he’s a really good fellow and a highly skilled craftsman.
We’ll be building a Jennie Alexander ladderback (note: Penland currently has the wrong photo up of a Boggs ladderback). I haven’t build one for 20 years, so I’ll have fun. Eric builds them all the time; he’ll keep me straight:
For folks that have spare time, we’ll also design and build a Windsor table (you’re much more likely to have time to build a table if you’re not on a work-study schedule, scrubbing dished for an hour or two after each meal):
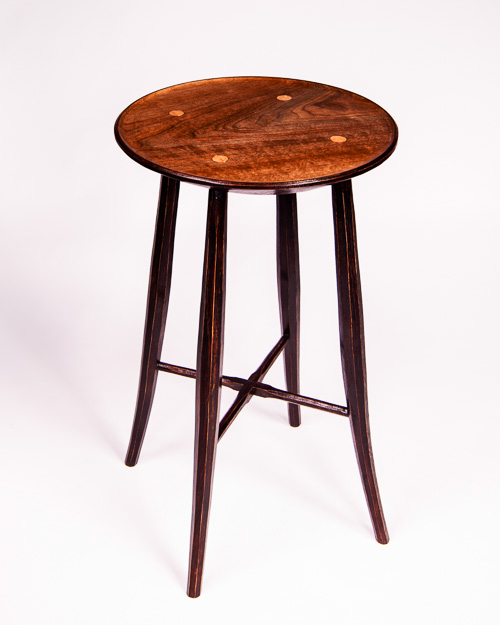
Windsor Table
Registration is now open. Hope to see you there!
Continuous Arm Rocker for Sale – Cheap

About eight years ago I taught a class at The Woodwright’s School. That wasn’t anything new – I’ve been teaching there twice a year for over a decade now. One of my students in that class built this chair – entirely with hand tools, of course. That’s the only way it’s done there. He split the spindles from the log at Roy Underhill’s home shop and steamed the bow using Roy’s wood-fired boiler. Back in town, he sawed the seat with one of Roy’s antique bowsaws and bored it’s mortises with his antique drills.
A few months ago my student died. Jerome Bias, a well-known local woodworker, is helping his widow sell his things. Anyone want a nice rocker? I don’t know much about it, other than that it is unfinished and that it can be shipped.
$700 OBO – contact Jerome for more info (or 919-215-2170).
A Fancy Chair
I got some photos back from my photographer of a reproduction chair I made for a collector in Kentucky, who owns the original of this chair. It is the only signed Windsor chair from KY known to exist, made near Lexington KY between about 1810 and 1830. The old chair has faded to dark brown, so he wanted a copy that looks new.
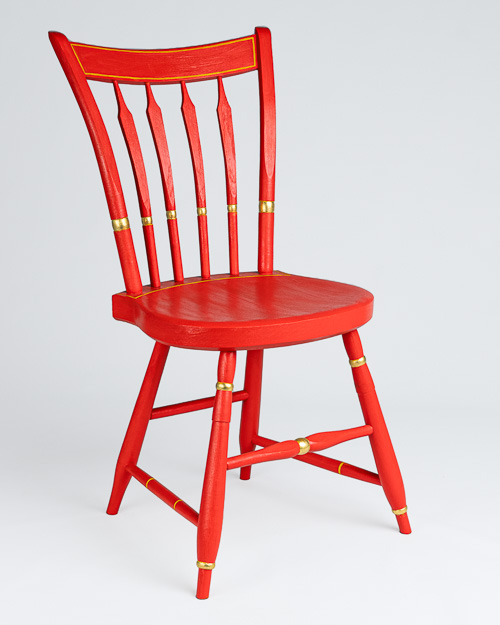
Pretty bright! The base color was vermilion made from mercury; I used a modern version of the color which closely approximates it.

Windsor chairs were painted in oil paints, showing brush strokes and uneven pigment grinding (there is little or no evidence that milk paint was painted on anything in pre-industrial America, chairs or otherwise).
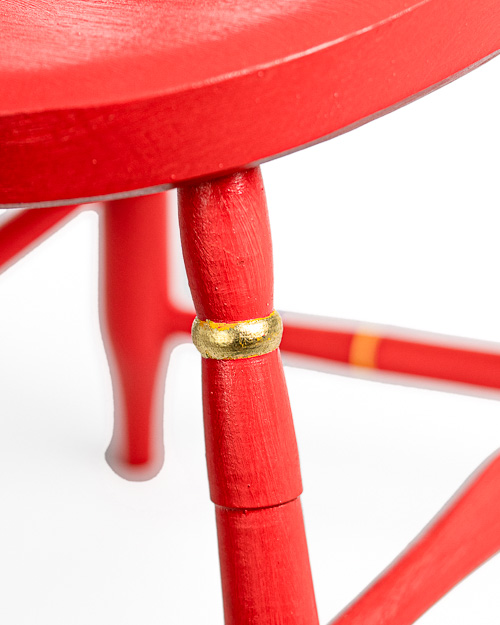
This chair got a high-end paint job, complete with gold leaf.
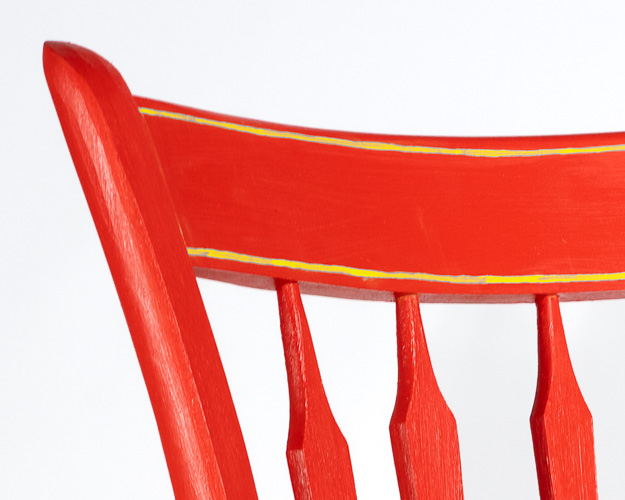
The striping was done in chrome yellow, a bright new pigment in the early 19th century.
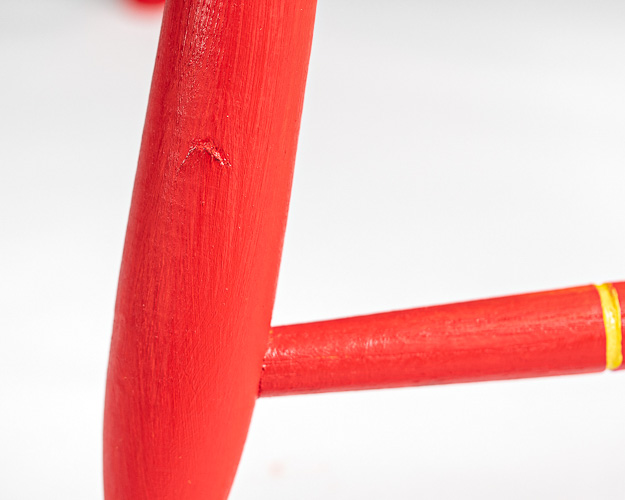
I roughed the parts with a hatchet then turned them on a pole lathe. Tool marks like this hatchet mark are common on old chairs – the original of this chair has an enormous drawknife-torn gully down the front of one of the posts. Such large “mistakes” are incredibly hard for us moderns to duplicate; having spent the last 20 years learning how to avoid these tool marks, it’s really hard to force my mind to embrace them.
This was a really fun job, an opportunity to learn more about period paints and chairmaking techniques.
Spoon Bit Tricks
I got a bunch of questions about using spoon bits. Here’s the answers to a few of them.
How do you get the spoon bit to start where you want it?
My favorite answer is to adjust your expectations. But there are some tips that will give you more control. I’ve never used the first two much, since I mostly use spoon bits in historical settings where accuracy is less important.
- Make a hole with an awl or small drill bit first (the bigger the better). The spoon bit will tend to stay centered around the awl hole
- Wallow out a spot with a gouge first.
- Place the bit about 1/4 of the bit’s radius away from the hole. Crank the brace a half turn clockwise, then a half turn counter-clockwise, back and forth until the bit has cut a depression the diameter of the bit. Proceed to drill normally. This will work, more or less.
- If any of the above fail, tilt the brace over at a 45 degree angle, pointing in the direction you need to move the hole. Crank the brace forwards until you like where the hole is. It’s best to do this correcting before the bit has started cutting at it’s full diameter.
You can watch technique number 3 in this video Peter Follansbee sent me from Guadix, a town in Spain where around 10,000 people live in caves (this from Curtis Buchanan, who visited there in the 90’s). The spoon bits start at the 15-minute mark (don’t blink, you’ll miss it):
How do you prevent tear out?
Tear-out at the hole’s mouth is mostly caused by a dull bit. In general, the harder the wood, the less tear-out you’ll get. It may never cut the entry as cleanly as a good auger bit, but it can come close.
On the exit side of the hole, tear-out can be minimized by take all pressure off the bit when you start to feel the bit going through. You can even lift up a little on the brace so the bit is taking very fine shavings.
How do you get a Clico bit to work?
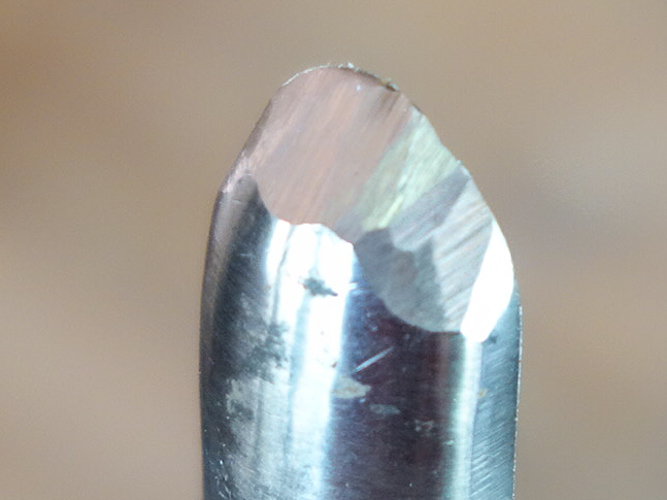
Clico bit that I ground to make it more aggressive
Mass-produced for decades, Clico bits cut very slowly because they have little forward cutting angle down the hole. If the bit can’t remove wood from the bottom of the hole, what kind of bit is it? I’ve quickly ground some of mine on a grinder which improves things greatly. I’ve done this to one of my Emhoff bits as well, with good results. A 35 degree angle is about right (measure this angle the same way you’d measure the bevel of a chisel). It doesn’t take much grinding.
Dave Sawyer
“I was talking with Dave Sawyer last week and I asked him if you could go work with him. He said ‘yes.'” I was standing in Curtis Buchanan’s garden, helping him pick vegetables. I had been apprenticing with Curtis for six years and he was worried that I was becoming his little clone. Maybe my horizons would broaden if I worked with some other chairmakers. I’m so grateful he did.
The following January I drove to Vermont (you can read a story about my trip here). I spent three weeks living with Dave and Susan and their daughter Annie in their old farm house, working for Dave and building a chair with him. His son George was still off engineering, beginning to plan a return home to take up the family business.
That trip for me is full of memories. I remember Dave’s precision and his attention to detail. I remember his piles of books and train magazines on the worn wooden dining table. I remember walking past the dining table through the shop door and down a trio of steps into the little shop, an extension of his house. I remember Dave’s unconcerned calm when the shop chimney caught fire. I remember trying to paint my chair one evening by the light of a single bulb mounted on the ceiling – my 25-year-old eyes couldn’t see what Dave’s experienced eyes could. I remember my paint running out before I was done: “If you had added a splash of water to the paint a little earlier, you would have had enough,” said Dave. I remember feeling nervous when I first arrived, unused to their quite Vermont hospitality. I remember feeling deep affection for Dave and his family as they helped me weight my truck down with rocks from their farmhouse basement the morning I left on my snowy trip home.
Five or six years passed. We spend a couple more weeks together, teaching and visiting. Then one day I got a call from Dave. “I’ve got a one-way ticket to the promised land,” he said. “They’re giving me till the end of the summer.” He sounded as chipper as if he were talking about chairs – which is what we talked about for the following ten minutes. “This and that” is all he would say when I asked him what was wrong.
Dave’s final summer was a long one – he lived for another good handful of years. But last weekend I learned he died.
A kind and generous man is gone. You are missed, Dave.
P.S. I realize that I have not one photo of Dave. If anyone has any photos from the class we taught together (or other photos of him that you like), I’d love to see them. Post them in the blog comments (or you can e-mail them to me). Thanks!