Rare Treadle Lathes for Sale
My blacksmith friend Peter Ross called last week. “I bought a couple lathes in an auction. Could you help me move them this afternoon?”
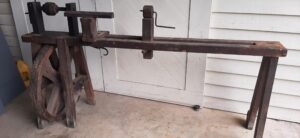
This can be a fearsome request, for Peter has a habit of buying machinist lathes weighing in the thousands of pounds. Fortunately, the lathes he bought were two old (probably 19th century) treadle lathes, complete with hand forged hardware. Not so heavy. They are really cool and quite rare. They will require a little fiddling and a new treadle before they run well, but everything moves freely and should be easily fixed up. Email Peter if you are interested. Here’s some photos of one of them (the other is similar, with a heavier wheel):
 read more…
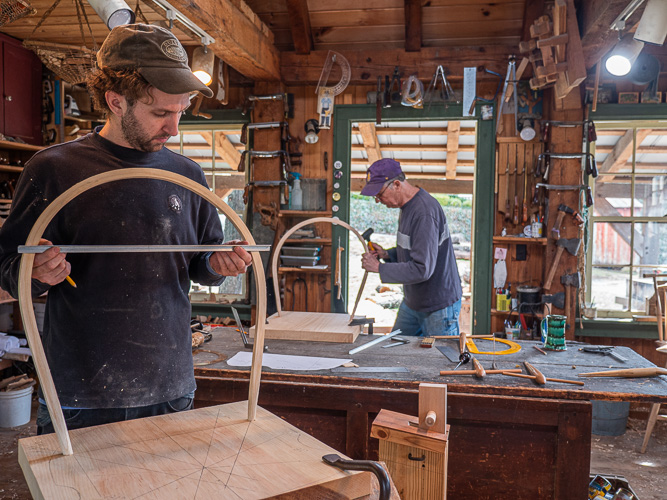
German Rakemaker
Morgan and I got back from a west-coast vacation a couple weeks ago and I’ve been carving seats and gluing up chairs ever since. I’ve got 18 undercarriages together and 22 to go. I might switch to putting backs on for variety. I’ve never had a opportunity to get in a rhythm carving seats, but it’s getting faster and better – I’ve got it down to around a half hour per seat, minus the scraping and sanding.
In my downtime I’ve been watching Youtube videos. I re-discovered this rake making video last night – I love making rakes and pitchforks and have sold them sporadically to museums and re-enacators over the last 20 years. I live in America’s plentiful forest, so I start with a huge log just like American tool makes have done for 200 years (and how Drew Langsner’s book taught me). Europeans often have a different take. This video is from 1978 Germany and shows the making of an angled, two-sided rake such as I had never seen before:
They start out in the fields cutting saplings. I love their steaming setup for straightening the saplings (I won’t spoil it for you). Then they head to a very nice shop for some indoors work.
Roy Underhill would be happy to see him waxing his saw blade – I’ll always remember Roy going from bench to bench with a block of mutton tallow, greasing all the saw blades and offering encouragement as students cut out their seat blanks.
I’ve never seen someone loosen a holdfast by hitting the end under the bench – what’s that about?
I love how they can eyeball all the hole angles, even though random-seeming handles will go into into the holes. Do all trees grow branches at the same angle? Probably not.
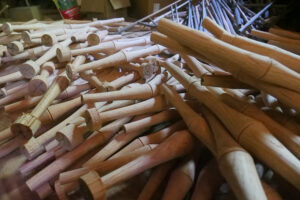
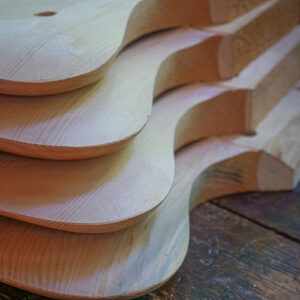
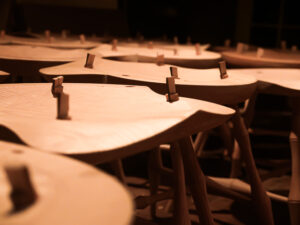
Photos of my chairs-in-progress:
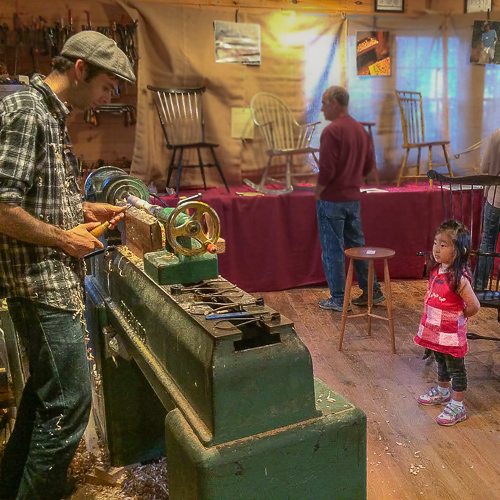
Choosing a Lathe
I’ve been turning a lot lately. Five weeks ago I got an order for 40 chairs (28 loop backs and 12 Continuous Arm chairs) for a Michigan hunting camp’s dining hall. I’ve turned 250 legs, arm stumps and center stretchers on my 1800# pattermaker’s lathe. Seth has turned 80 side stretchers on his 200 pound Delta lathe, which works equally well, if not quite as solidly. I’ve whittled nearly 400 spindles and spent time writing on my book every day.
I’m having a ball. I’ve always wanted an order this large, to see just how fast I could work. I love turning the same part over and over again, watching myself get faster and – at the same time – more relaxed and less in a rush. I’ve recently gotten a few questions about what to look for in a lathe, so here’s some thoughts:
Things to think about:
Speed: I happily turn chair parts anywhere between 1000 and 2000 rpm. I sand parts and cut tenons with a turner’s gate at up to 3000 rpm, but these high speeds aren’t mandatory. Speed changes can be achieved with a step pulley, as my current lathes do. An electric speed dial or mechanical means of continuous speed adjustment is nice, since subtle changes in speed can help kill vibration.
Bed: Make sure that the bed of the lathe is made from two ways with a gap in between (some cheap lathes are made from one piece of pipe – not nearly as stable).
Ergonomics: You should be able to stand with your belly no more than a couple inches away from the bed of the lathe. Some lathes have protrusions that get in the way.
My old Powermatic 90 was a wonderful lathe.
Weight: The piece of wood you are turning is a part of the machine while it is in the lathe. Chairmakers are constantly putting out-of-round pieces of wood in the lathe and no matter how perfectly balanced the lathe itself is, it will bounce around the room unless it has some weight. My 200# Delta works fine for most blanks (or I’ll knock some wood off with a hatchet to balance it), my 600# Powermatic 90 was pretty stable and my 1800# Pattermaker’s Lathe is smooth as silk no matter what goes in it.
Things you probably don’t need to think about:
Motor: A 1/2 hp motor is plenty for a chairmaker and I believe Dave Sawyer’s lathe that he used for decades had a 1/3 hp motor. In other words, there are very few lathes that would be under-powered for us.
Length Between Centers: Most chair parts are under 24″ and all of my parts are under 32″. Most lathes fit this.
Morse taper size: Is irrelevant for us. Just buy drive centers that fit your lathe.
Swing: A measure of the maximum diameter that can fit on the lathe, swing is unimportant for us chairmakers (unless you plan on turning table or stool tops, something I rarely do).
Old Lathes
I prefer vintage lathes. You can get a lot of weight for your money. Lathes are really simple machines – the main thing that goes wrong with them is the bearings, which are cheap and usually easy to replace. Some big old lathes have three-phase motors, which can be replaced with single-phase motors or run with a phase converter or variable frequency drive.
Old Woodworking Machinery: An amazing resource, OWWM is a forum for people interested in old machinery. I have bought several machines from the classifieds on this site and their sister site Vintagemachinery.org, which also has a huge library of free owner’s manuals for machines dating back over 100 years.
New lathes
I’m no expert on modern lathes, but here are my thoughts. A ‘midi’ lathe with a bed extension will work fine for chairmakers, if you plan to do some work with the drawknife and ax before mounting the blanks in the lathe. Brand isn’t important. Many planers are made in the same factory, regardless of brand – I bet lathes are similar. Of course if you spring for a Powermatic or Oneway, you’ll get a machine that will last longer, but Grizzley, Jet, Laguna, Woodtek etc. are all similar in quality, as far as I can tell.
After you get it home:
Height: The lathe centers should be an inch or two above your elbow. To achieve this height, he average person will need to to put most lathes onto wooden blocks several inches thick; my lathe is blocked up about six inches.
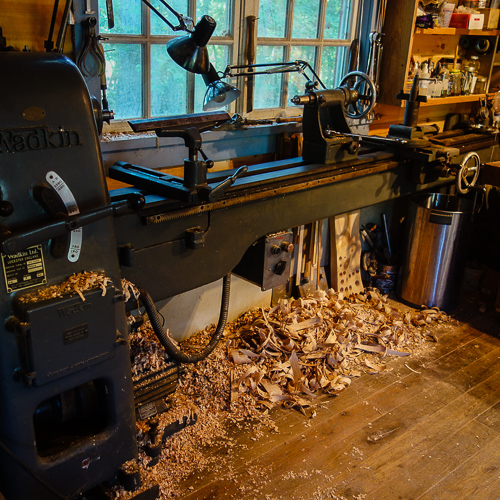
My current Wadkin Patternmaker’s Lathe is huge.
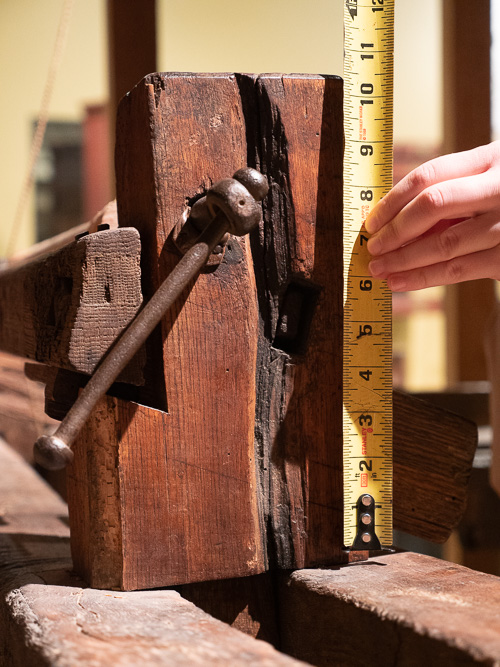
The Dominy Lathe is Done (almost)
A few days ago I picked up the spikes for my new lathe from blacksmith Peter Ross. He seemed to enjoy making them: “People don’t want work this rough very often, but I was trained to make reproductions like this.” Peter thinks the hardware was make by the Dominys – it’s too funky for commercial work. Peter copied them to a tee.

The tail center is fixed in place with an integral spike.
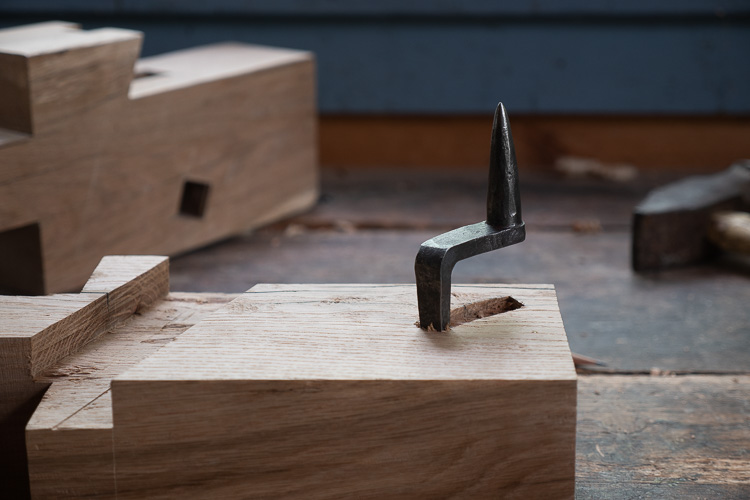
I drilled a stepped hole, then drove it together.
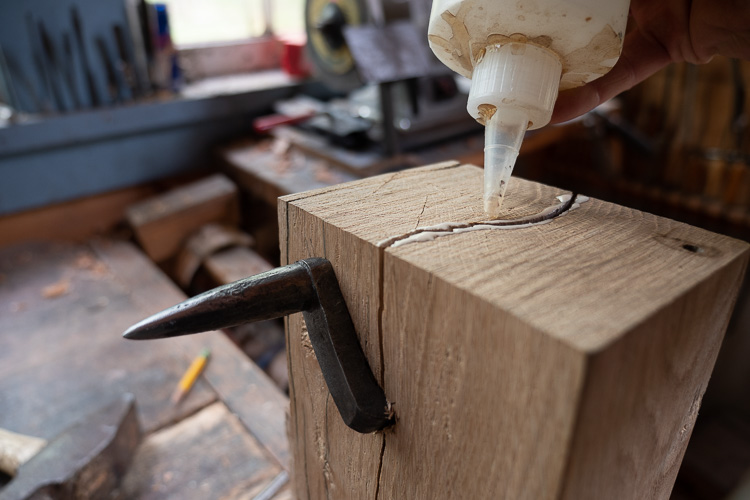
Oops! I forgot the spike was also a very powerful (i.e. low-angle) wedge. read more…
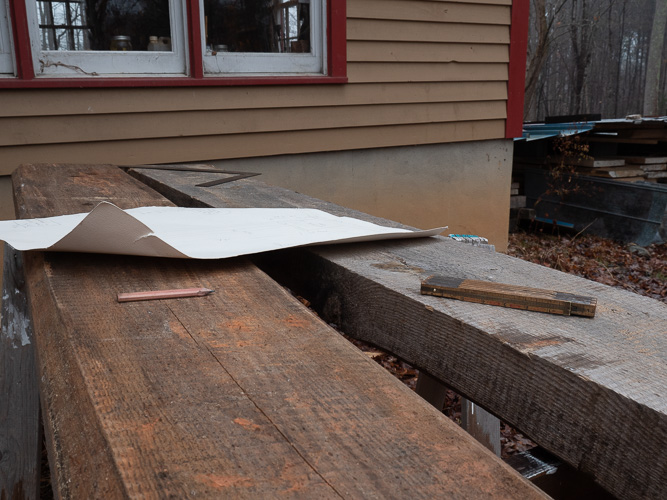
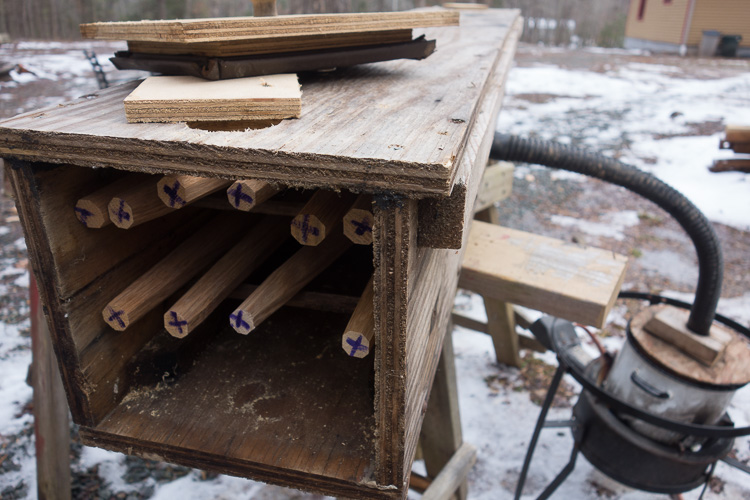
Building a Dominy Springpole Lathe
Last fall I had the joy of spending a couple hours in the Dominy shop at Winturtur to measure their Springpole Lathe. I’ve finally started building a copy of it, for use in the book on early 19th Century chairmaking that I’m writing. A local sawmill gave me a pine beam that was in their firewood pile and I’m off to the races:
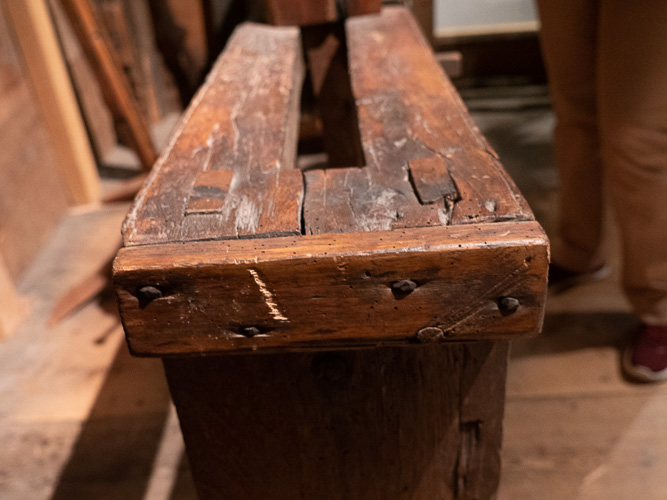
The Dominys clearly had some issues with their bed design, which is contrary to most published designs of the era, and which has cracked. I’m going to copy their design anyways.

Quaker John
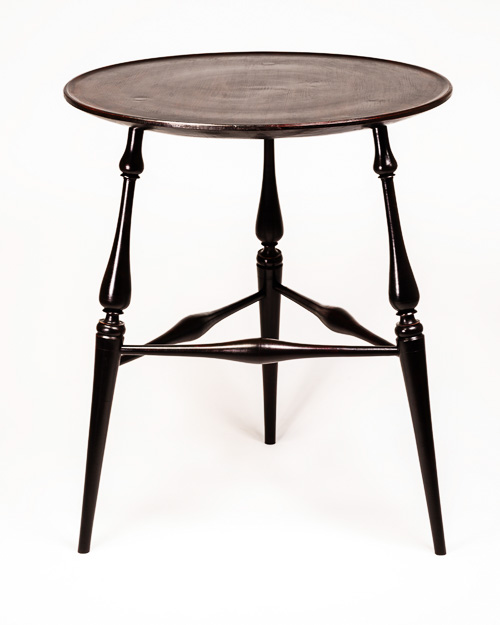
 This is a story for John and his family. It’s also for Scott, who’s Comb Back Arm Chair and Windsor Table were delivered last month. I wrote the story in the middle of January, when it happened:
John Braxton died a couple weeks ago. A Quaker gunsmith, he machined thousands of travisher blades and a variety of specialized gizmos for me over the years. I don’t know if we were friends, but maybe we were; we enjoyed talking about local history, the Industrial Revolution, eating habits and phase converters.
As I was boring holes in the crest of a comb back arm chair this morning, the phone rang. I walked over, turned down the Stanley Brothers and answered it.
“Hello, this is Judy Braxton. I have your travisher blades done.”
“Y-Y-You do?” I stammered. I had sent John tool steel for travisher blades back in August, but when I heard of John’s death I assumed he hadn’t worked on my order yet, much less finished it.
“You heard about John?” Judy asked. “John was getting weak back before Christmas, but he wanted to get your blades done. He must have known something was really wrong. Everyday he’d go to the shop and work an hour, but that’s all he could do.
“Then he was in the hospital and knew he wouldn’t finish the blades, but he wanted them done for you. He sat in the hospital and explained every step to our son Christopher. John drew it out on napkins, showing Christopher how to do each step. Christopher got them done today.”
What could I say?
You are a good man, John. May you rest in peace.
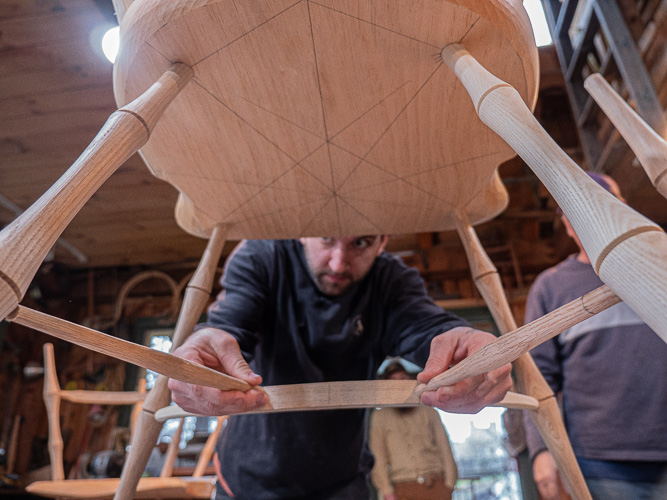
Growing a Loop Back Arm Chair
As most of you know, I’m at Curtis Buchanan’s designing a Loop Back Arm chair.
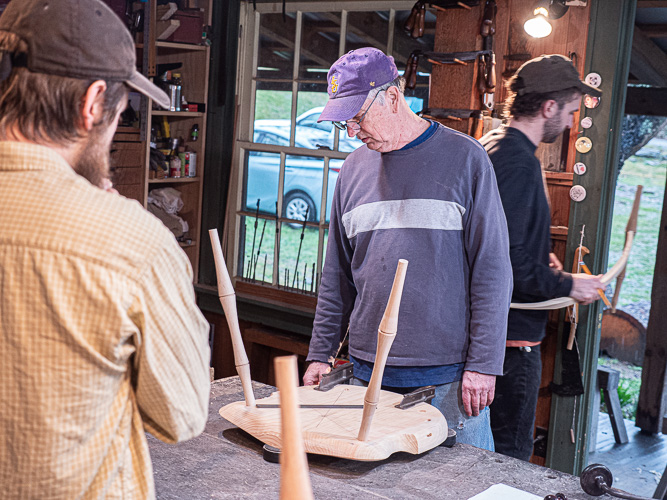
On the second day we had a visitor from NC, Reid Gamble who has been apprenticing with laddarback chairmaker Lyle Wheeler.
First we bored for the bent stretcher.
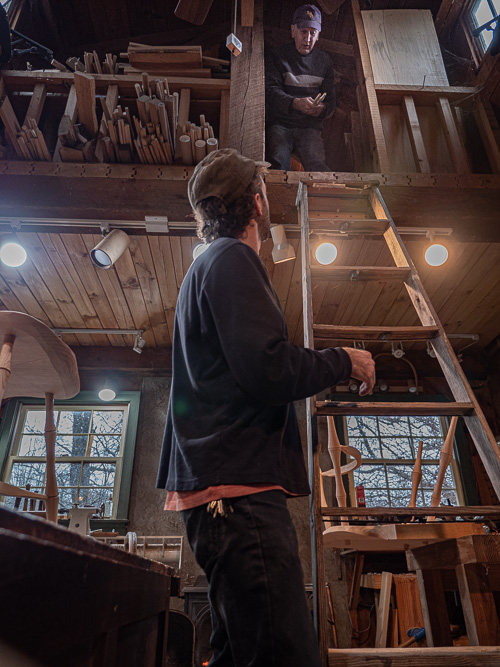
Curtis had to climb upstairs to find dry wood for the two short turned stretchers….
….. which Eric cut to length so we could figure out where they would look best entering the curved stretcher.
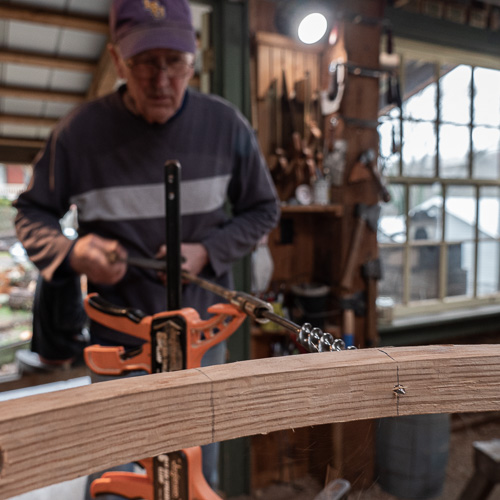
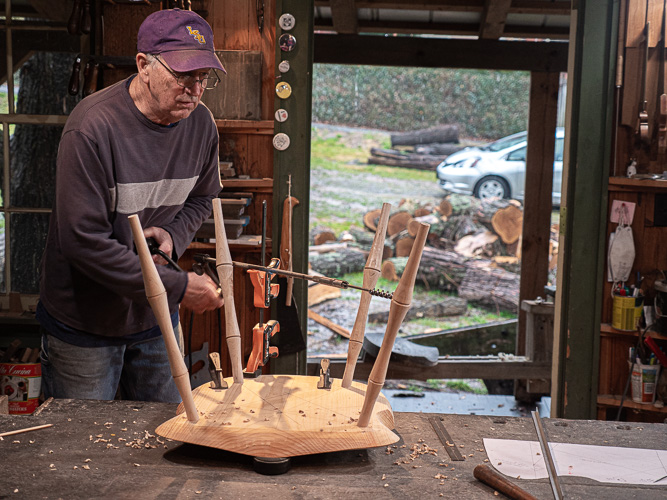
We bored the holes in the curved stretcher and then we assembled the undercarriage.
Curtis told a story.
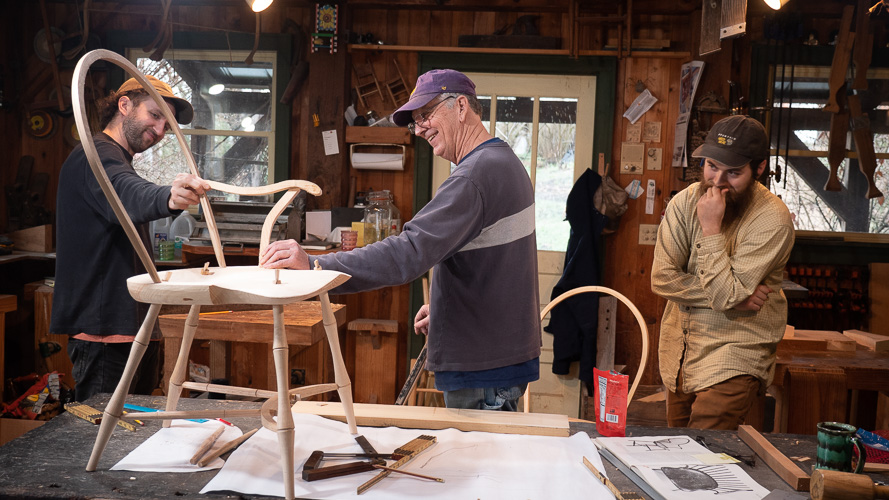
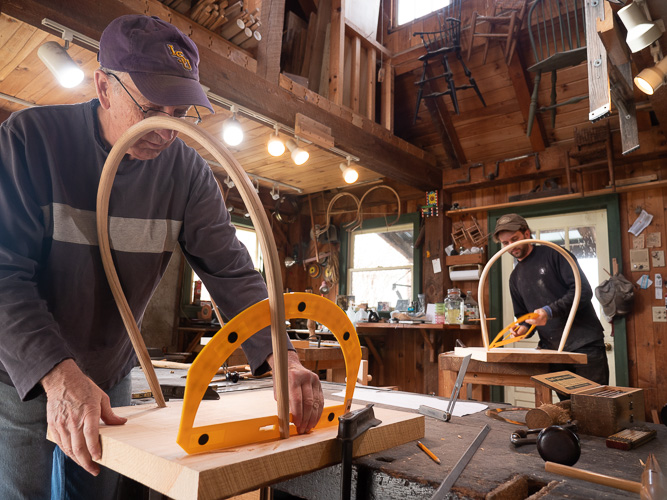
The we stared playing with arm designs from sawn pine scraps (the arms will eventually be bent oak).
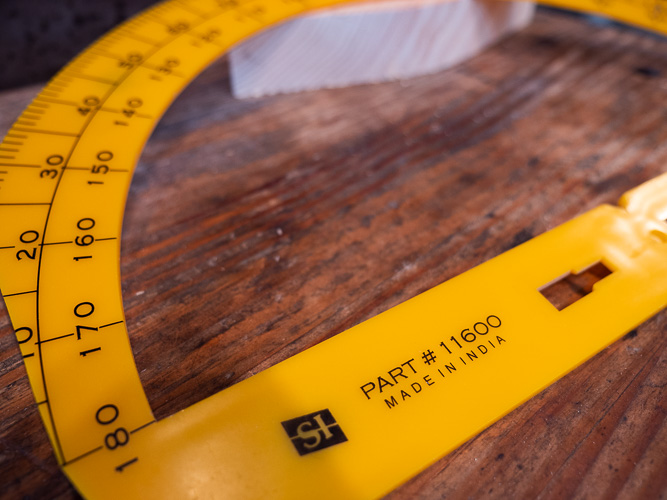
I got several e-mails wondering where to get the big yellow protractors seen in my previous post. They are called chalk board protractors and the above photo holds all the info we know about them; they were given to Curtis by a student a number of years ago. I avoid needing one by setting a big t-bevel to the angle and then finding the angle on a normal protractor or Bevel Boss.
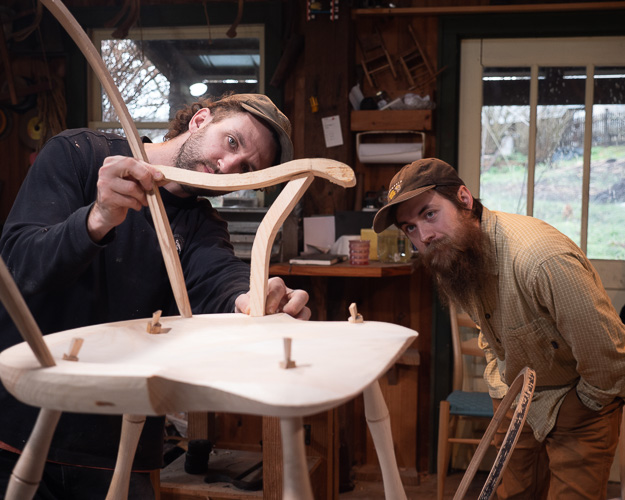
The arms started looking pretty good!
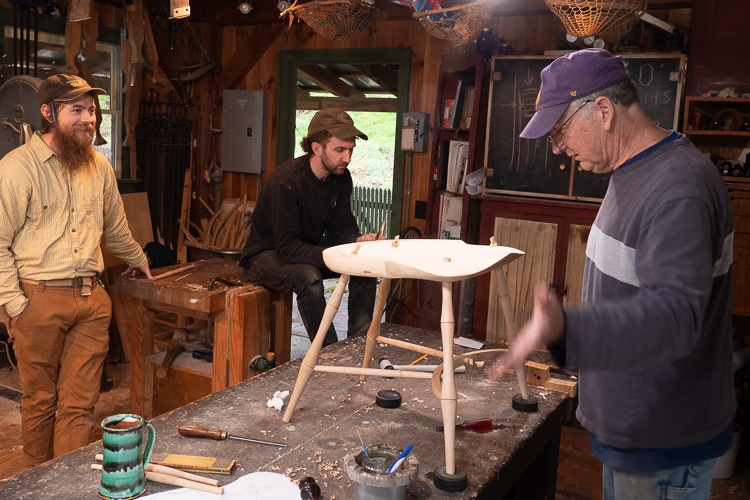
Curtis, Eric and I
I am spending the next few days visiting with Curtis and Marilyn Buchanan. Eric Cannizzaro is here too. During the day we’re working an a new loop back arm chair design for which Curtis hopes to publish a set of plans. At night, we are eating Marilyn’s good food and listen to Curtis’s stories (Marilyn may have heard a few of them before). I first came here to work with Curtis 20 years ago this April. Amazing.
We all had our parts made before we came, so we started with assembly.
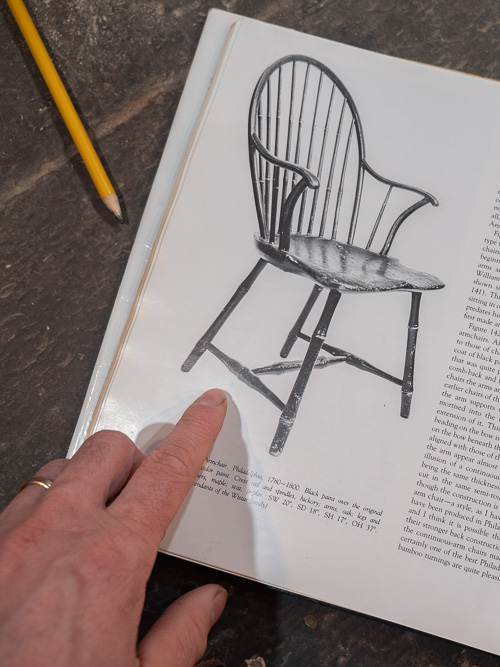
This is the chair we’re working from, in Santore’s book.
Steam Boxes, Part 3: Heat Sources
The size of steam-generator you need is related to the size of your steam box, how well insulated it is and the temperature of the air around the box. It is probably cheaper and easier to insulate your box thoroughly rather than increase the size of your steam generator.
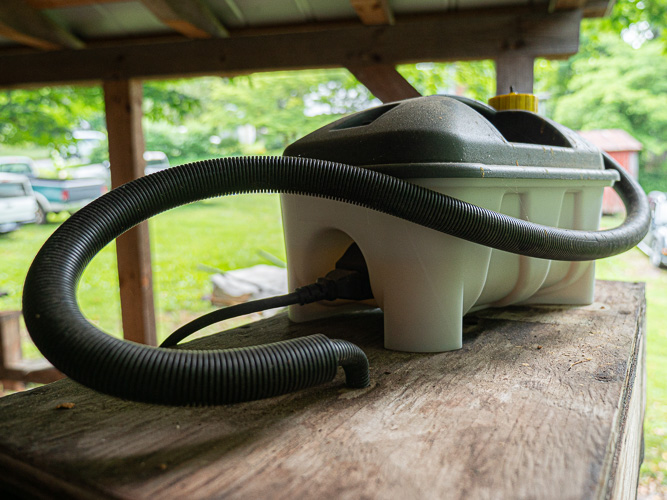
Curtis’s wallpaper steamer
Wall paper steamer: Curtis Buchanan uses two of these to heat a 4x4x70“ I.D steam box. They are handy one-piece units that are readily available from a hardware store.
My old propane burner, pot, with plywood lid and radiator hose feeding an uninstalled enormous box. This rig struggled to get enough heat, but a smaller, insulated box would have helped greatly.
Propane/electric burner and a pot: Propane burners can work well, just make sure you don’t have too much heat loss between the pot and the steam box. Portable electric burners are too small for this job, but larger electric units can work. read more…
How many Hours to Build a Chair?
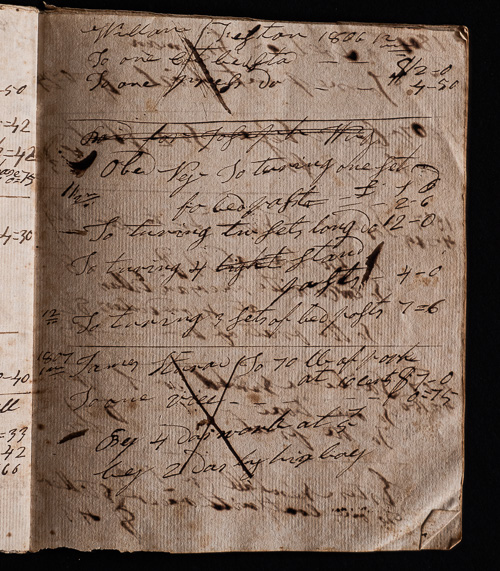
A page from Samuel Wing’s account book (courtesy of Old Sturbridge Village)
This is one of the most popular questions I get asked. I never know how to answer it. Usually I say, “About 30 hours for a Continuous Arm chair, including 8 coats of finish.” But the truth is I haven’t a clue. I have no interest in tracking my time, so I never have. It’s as simple as that.
A key question for my book project is, “how long did it take Samuel Wing to build a chair?” When I first wrote on this blog about the book, I hadn’t read Samuel Wing’s account books yet, so I based my time estimate on Nancy Goyne Evans calculations in her excellent book Windsor Chair Making in America. But I know more now.
Reading Samuel Wing’s account books, I was able to find a entry in 1802 where he charges 7 shilling 6 pence for a day and a half of his labor, which works out to be 5 shilling per day. Later that year, he charges 8 shilling 6 pence per chair for a set of 6 “green chairs” (probably some kind of side chair). If he worked 10 hours per day, that’s conservatively 10-15 hours per chair, which is a whole lot slower than the 4-5 hours per chair that Nancy Goyne Evans figured for square back chairs a decade or two later. Which is good news for me – I don’t have to work as fast!
Why the disparity in time estimates? In hindsight, I have a number of ideas: Besides chairs, Samuel Wing made boats, tables, beds, chests, farmed and sold lumber and watches and shoes. And did many other things. So he probably never got as fast as a specialist chairmaker would have been. Plus, square back windsor chairs often had simpler seats, turnings, bends and assembly techniques than Wing’s loop backs, speeding production.
Once I get a mess of chair orders out the door, I’ll start building a reproduction of the Dominy spring-pole lathe and then I’m off to the races.