I am copying this 1810-1820’s KY writing arm chair for the Colonial Williamsburg symposium in January. Seth and I spent two days measuring and photographing it at Williamsburg’s furniture conservation lab, and now two months later I’m trying to piece it all back together. Today was arm day.
Looking at the original chair I found the arm completely baffling – it is curved in all planes , twists from front to back and has to fit tightly to the post in a rather precise and awkward fashion. These old chairs were build fast, with little measuring, few tools and almost no jigs. My solution needed to be fast and easy. I had no idea how the old guy did it, but today I tried to find out:
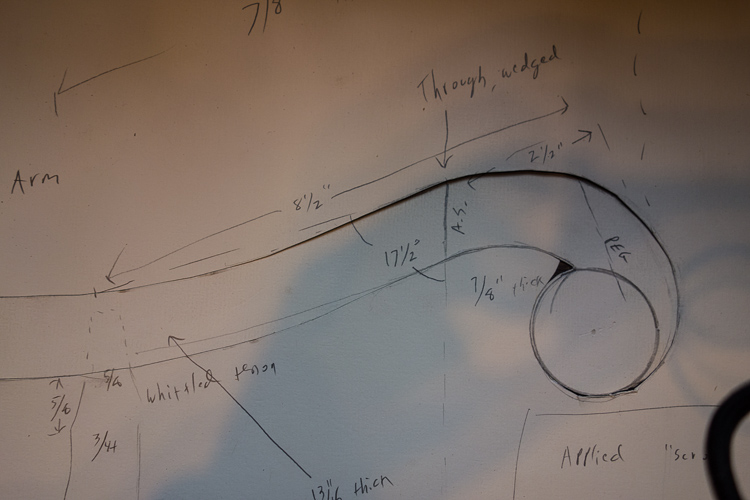
I adjusted the tracing to make it match measurements I made (getting accurate tracings of curved objects isn’t easy), then I cut out the pattern
I’m just trying to figure out how to make the darn thing, so I traced it onto some junk white pine I had laying around – I’ll use maple for the real thing just like the old guy did.
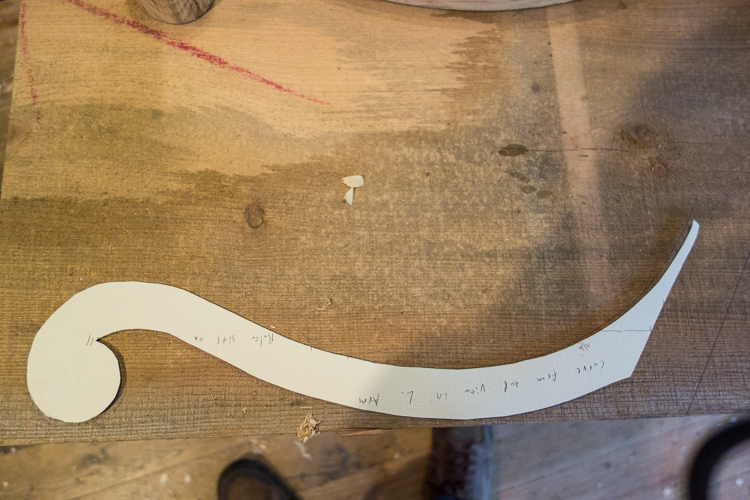
I cheated and used the bandsaw (don’t tell). I’ll use something more appropriate (ax or saw) for the real deal.
Now what? I could start shaping, but I rejected that idea – how would I ever get it to fit right? I could cut the bevel on the end where it fit onto the post, but to get the angle right would have involved clamps and that seemed lake too much bother for the old guy to have gone through. I settled on boring the arm stump hole, since that would make my future measurements easier.
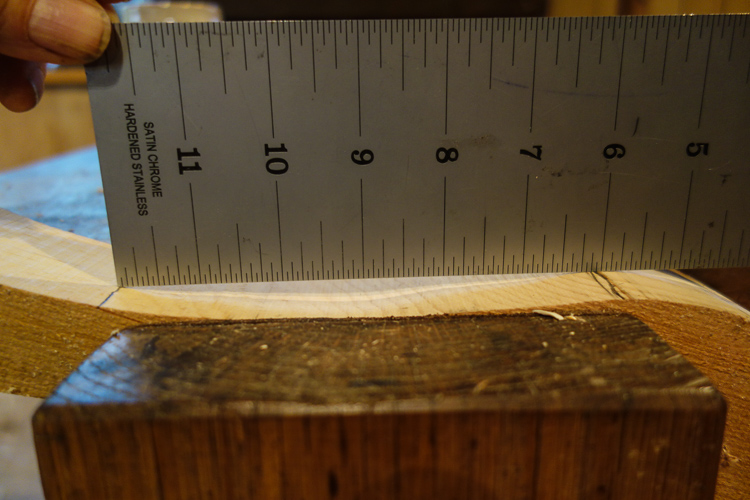
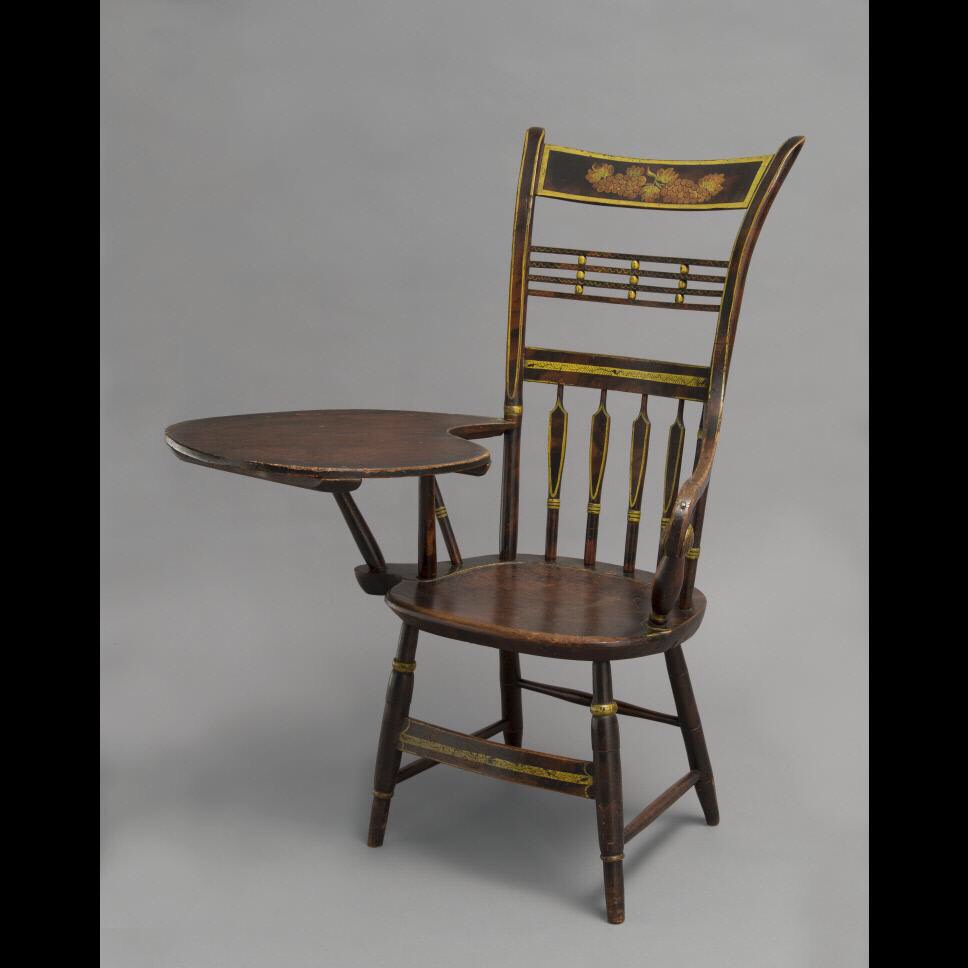
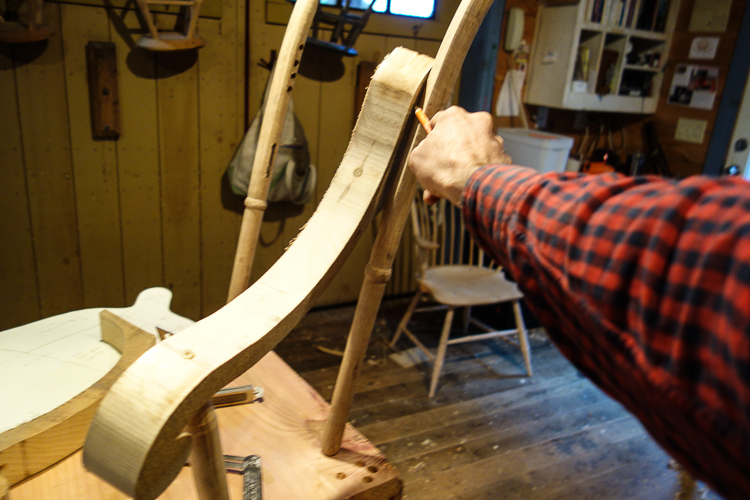
When I measured the angle of the hole for the arm stump on the original chair, I just placed the bevel square on the top surface of the arm wherever it was easy. The arm here was concave, so it mattered greatly where I put the t-bevel, so I noted the t-bevel placement on my plans along with the angle I measured (17 degrees). In this photo, the two marks on the arm represent where the ends of the t-bevel were. I’m leveling them to the top of the bench, then I’ll use the top of the bench as a place to put my t-bevel (still set at 17 degrees). [I could bore three holes in the time it takes to write this, and I’m not even sure it makes any sense. Does it?]
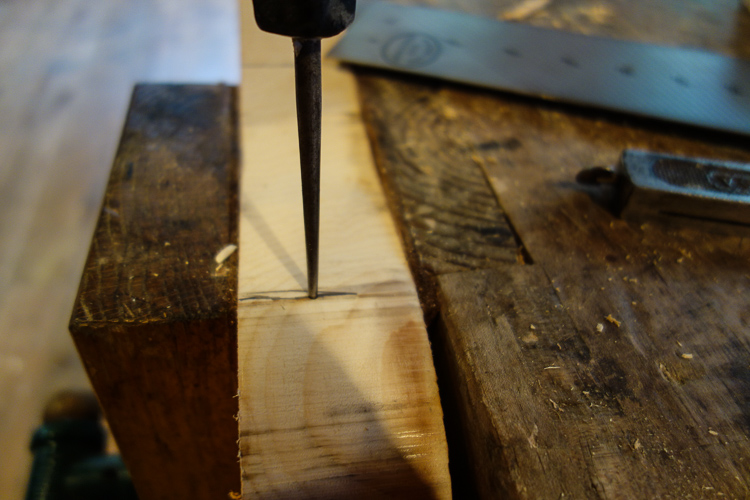
I marked the position of the hole with an awl, making sure to off-set it since I was going to have to cut a curve in the arm later.
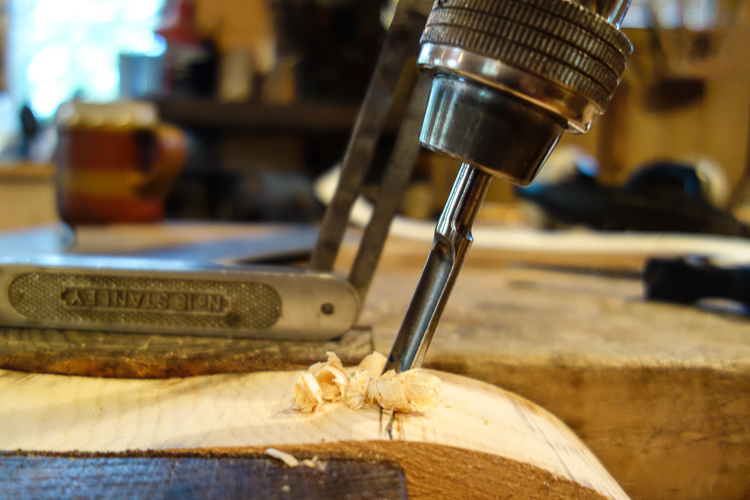
These stubby spoon bits were called “chair bits” by some manufacturers of the time.
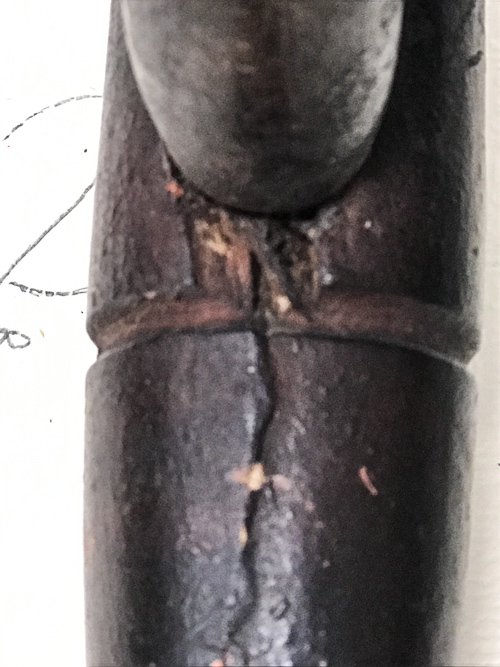
The guy who built our writing arm chair clearly used them – the tearout on the underside of this mortise is a dead giveaway.
With the arm on the arm stump, I marked the angle of the post onto the end of the arm. I added a half inch to this and cut it off…
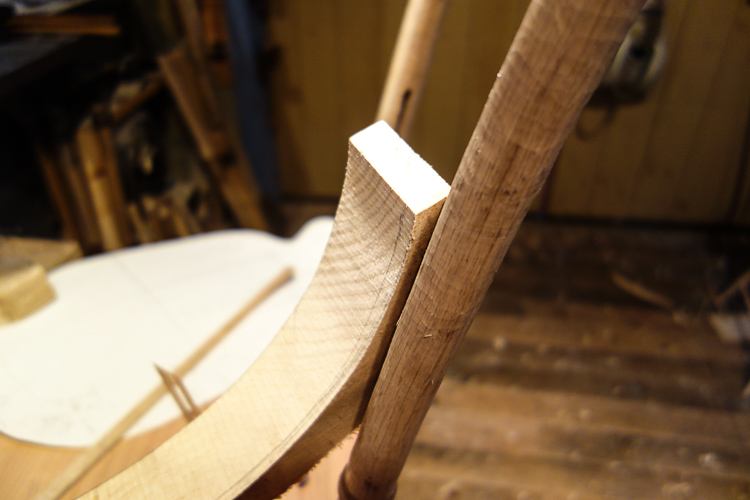
…too short! I forgot that the arm get’s beveled in both directions – I needed to add nearly 2″.

I cut out another arm, longer this time. Now I needed to get the L-R angle. I thought about it for awhile and discarded all the complicated ways of doing it I immediately thought of (humans are great at coming up with overly complicated solutions). I finally just held the arm up against the arm stump and post with my hand and traced the angle like you see in the photo (I’m using the t-bevel as a parallel-sided straight-edge here). It’s not the most accurate was of doing it, but I think it fits how the old guy seems to have done things. The original chair back has a pretty healthy twist that could have come from cutting his arm a little long.
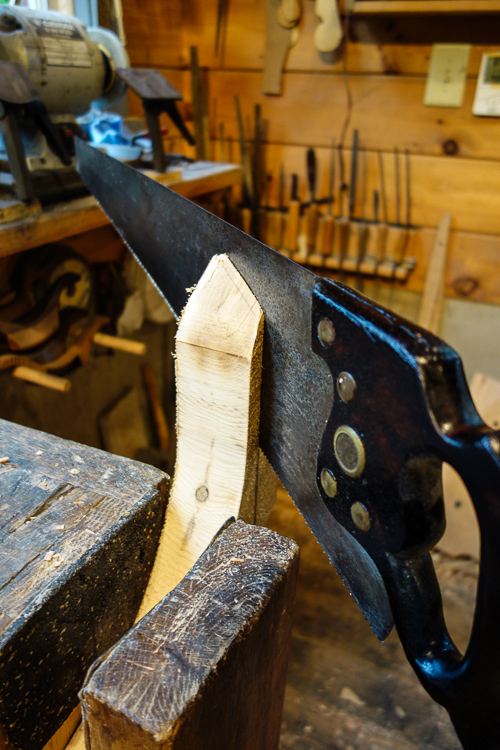
I sawed the end of the arm off.
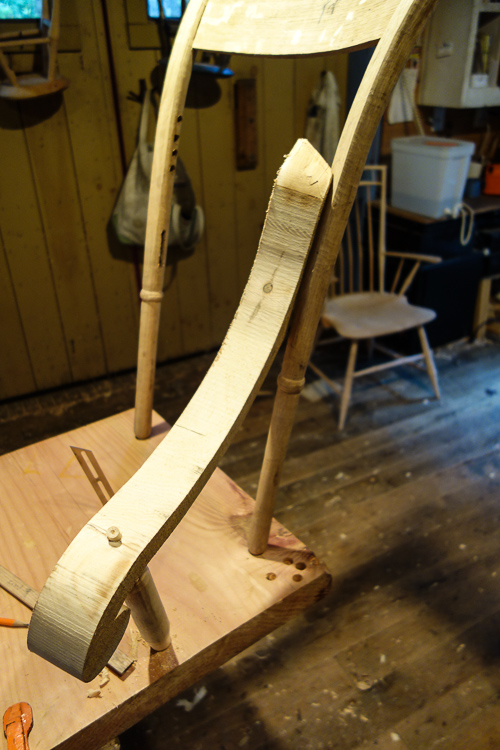
Now we’re getting somewhere! But I need to go eat dinner – I’ll share more soon.
Doing drawings for it.
Williamsburg has given me special permission to make one copy of this chair, no more. So unfortunately plans are a definite no-no.