This is the second installment on finishing the Continuous Arm Rocker from my DVD:
Mix 2 parts water to 1 part paint. This is a good starting place for black and red, but some colors require less water. You can always add more water later. 8 Tbs of red paint will cover a Continuous Arm with 2.5 coats of paint. 4 tbs will do both black wash coats. I use Old Fashioned Milk Paint; other brands may require different ratios, I don’t know.
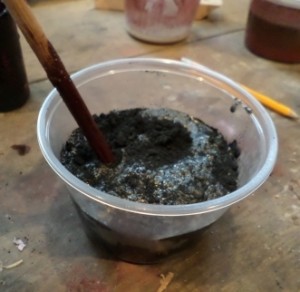 I mix with a stick first…
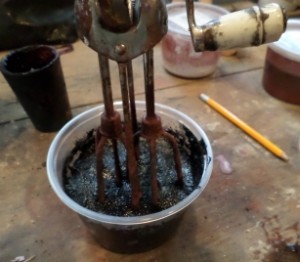 …then an egg beater. Don’t beat too hard, you’ll create excess foam. If you don’t have an egg beater, just use the stick. Let paint sit for 10 minutes or so to soften the paint particles, then stir again.
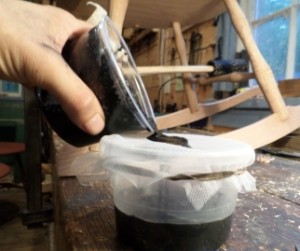 Strain it through an paper paint strainer from the auto-parts store or cut up a 5-gallon paint strainer from the hardware store (shown here).
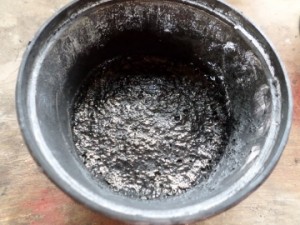 Let it sit for an hour or longer. There will be a variable amount of foam floating on the paint
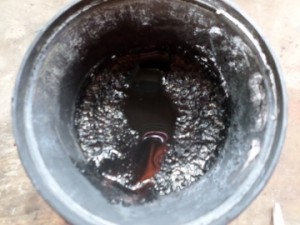 Spoon the foam off (painting with it is a real pain). Here the foam is gone in the center of the cup, but remains on the sides – keep spooning!
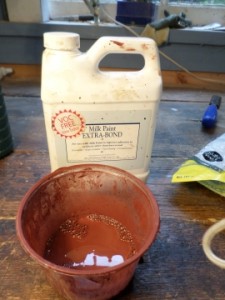
Since I’m doing a black-on-red paint job on this chair, my first 3 coats are red. The very first coat, I mix 2 tbs paint and 1 tbs Extrabond in a separate container from the rest of the paint. The Extrabond helps the first coat adhere to any pitch in the seat and other troublesome spots. Extrabond changes the look of the paint, so only use it in the first coat.
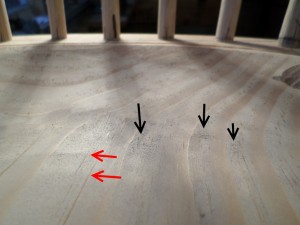 I happened to set the chair down in the morning (raking) light and noticed some issues with the seat I hadn’t seen before. There were subtle ripples that really stand out once the paint is rubbed down and shiny (red arrows). A scraper fixed these. There was also some fuzz from scraping uphill against the grain (black arrows) that needed to be sanded out. Click photo for a larger view.
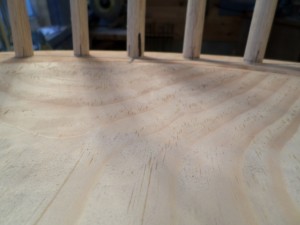 This is the same surface – before I fixed any of the above-mentioned issues – but in different (vertical) light. The issues are either invisible or extremely hard to see. Good raking light is one of the most important tools in a shop.

0 Comments