This post continues my adventures as I figure out how to attach the arm to my copy of a 1800’s writing arm chair for Williamsburg’s Working Wood in the 18th Century conference. My first post is here if you missed it.
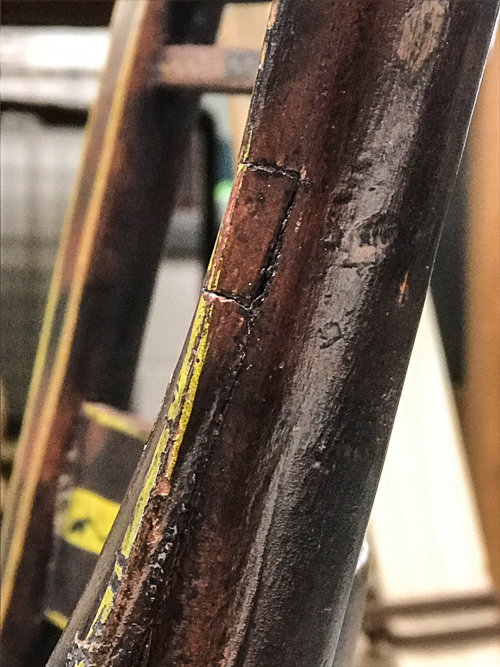 The old chair had the post notched to receive the arm.
I probably should have done this step before I did anything else, but it worked OK doing it now.
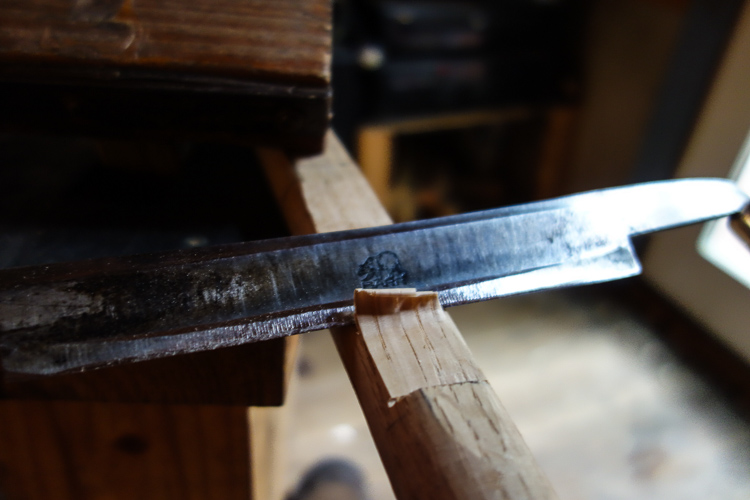
 The joint fit pretty well, but the old guy’s joint was really tight, so I tried kerfing it in with a key hole saw. It was laborious, but it worked. Maybe there’s a better way?
 With the joint tight, I could now concern myself with thinning the arm and putting the curves in. I marked the sides of the post, then I went back to study my photos for the hundredth time.
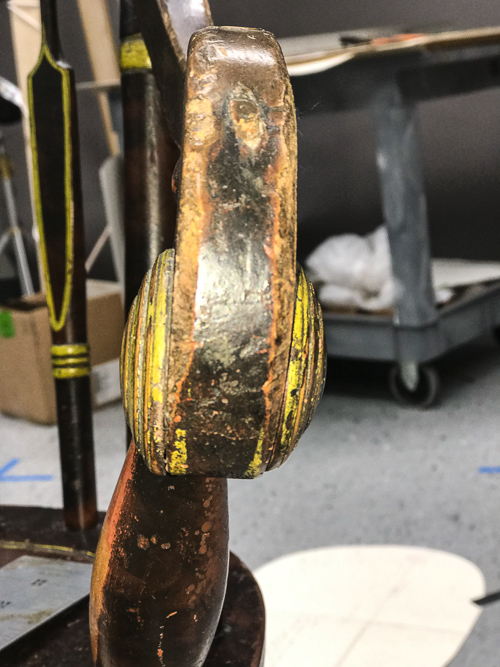 In this photo I noticed that the inside face of the arm is aimed at the outside face of the post. With a ruler I drew a line on the top surface of the arm to match the photo, then sketched the curve to where the line on the end of the arm was. Easy!
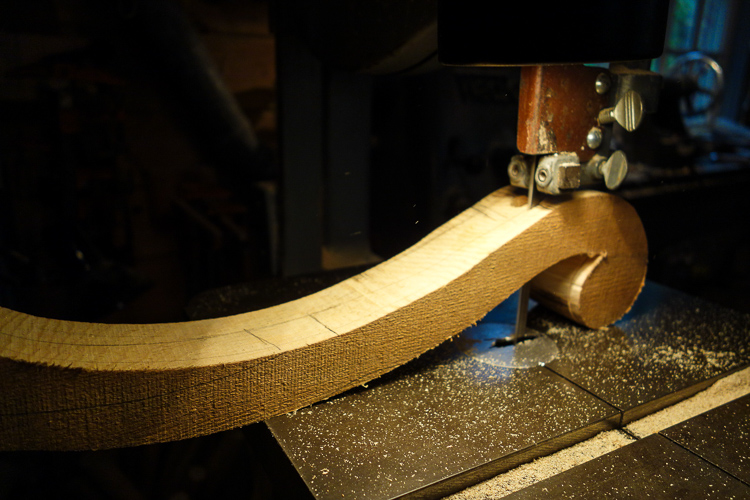 More bandsawing ensued…
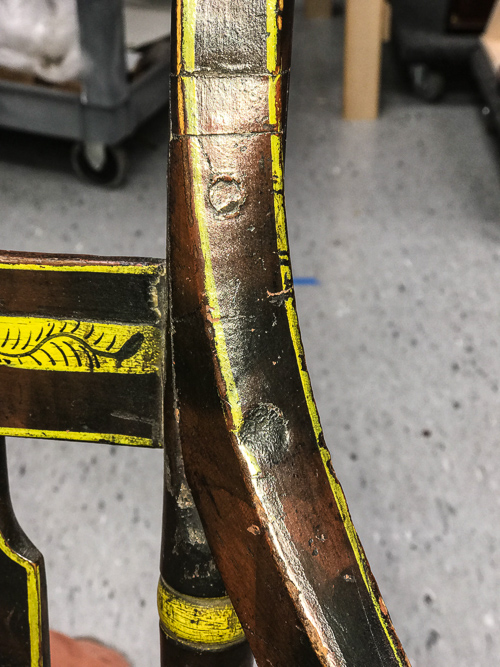 The arm seems to have been attached to the posts with screws. At least that’s what I’ll assume until the Williamsburg folks send me an x-ray, which they were threatening to do.
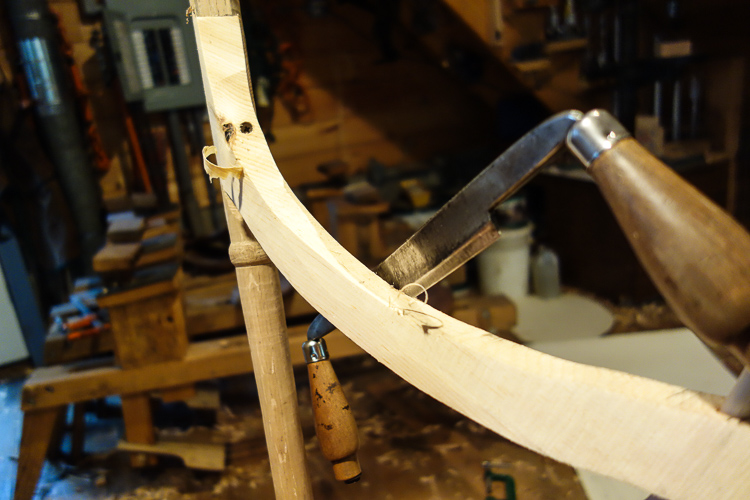 So I screwed the arm onto the post and attacked it with a drawknife. Suddenly all those complicated curves made sense and I didn’t have to measure them – I just took off whatever part of the arm wasn’t flush with the post and I had a pretty close copy of the original arm. Exciting!
The only problem is that there are no jigs, complicated angles or elaborate measurements. The crowd at Williamsburg are going to think anyone can do this! Maybe they are right.