French Spoons with Jane Mickelborough
“What did you do during the pandemic, ” friends will soon be asking. Now you can have a good answer: “I made a set of French eating spoons for our dining table.” Boy, will they be impressed.
First we’ll learn to carve a French eating spoon. Then we’ll learn to decorate it with wax inlay. Incredibly detailed wax inlay. We’ll have little clips of Jane doing the work so you can see how it’s really done, then you can watch me try. The best part is watching Jane grimace as I struggle – we’ll laugh a lot and learn a lot too. What could be better?
Part 1: April 10th, 10am Eastern
We split the blank from a maple log and carve it with drawknife and shave horse, knife and gouge. Jane has developed a carving process that allows the blank to be easily held in a conventional shaving horse. She’ll also demonstrate using a paroir de sabotier (clog-maker’s knife) to carve a spoon.
Part 2: April 24th, 10am Eastern
After the final shaping of the spoon blank, Jane shows us a variety of chip carving techniques. Then we fill the carvings with wax inlay, just like the traditional French spoon carvers.
Visit the webpage to register.
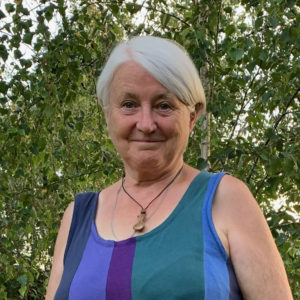
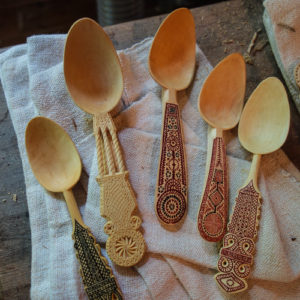
In Jane’s words: I am fascinated by wooden spoons–what appear to be simple, everyday objects are, in fact, very subtle three-dimensional shapes. Ten years ago I discovered the tradition of spoon carving here in Brittany, NW France, where I live.
Back in the 18th – 19th centuries these beautiful boxwood spoons were made to be taken to religious festivals and to weddings. Everyone had to take their own spoon and knife. This seems to have evolved into “who’s got the best spoon?”
While these spoons were fairly simple shapes, the handles were richly decorated with metal and wax inlays. It’s this shape of spoon we shall be making in these two classes.
Clogs and Coracles
For being in the middle of a pandemic, my life is pretty full. Tools and chairs have been selling better than ever in my career. I have made over 200 reamers in the last 12 months and am about to run out again – whew! The online classes are doing well and have been a wonderful way to collaborate with people that I have admired for years. Who would have thought a pandemic would bring us together?
Here are a couple short British Pathe films of English craftsmen. They thoroughly amused me. You can watch them both in about 6 minutes:
Coracles! They make a basket and go fishing for salmon in it. Really cool.
I’ve always been fascinated by clog making – it’s like a chair seat for your feet. The tools are super cool too.
Velda’s Chair Class with Curtis Buchanan
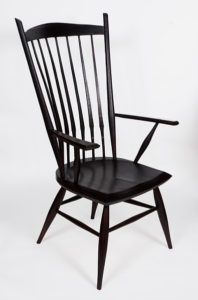
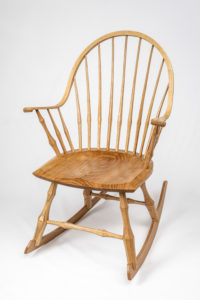
I first made one of Curtis Buchanan’s Velda’s Chairs about six or eight years ago when a neighbor came by my shop and ordered two bar stools and a settee in Velda’s style. They wanted the chairs unpainted, so I drove three hours to find walnut seats big enough, only to discover they had been case-hardened in a kiln. They warped like potato chips when I carved them. I tried everything I could think of and finally got them flat again. The chairs turned out quite well and I have since made a dozen or so and taught a class at Anderson Ranch on making them. That class was three weeks long – it’s a big chair.
I’m excited to be teaching this chair online with Curtis, starting in April. Here’s the details:
VELDA’S CHAIR & ROCKER CLASS with CURTIS BUCHANAN & ELIA BIZZARRI
Biweekly Saturdays from April 3rd through August 7th, 2pm Eastern
One of Curtis’ most popular chairs, Velda’s Chair has rarely been offered as a class–until now! Curtis and I team up for a 10-episode series to build both the arm chair and rocker versions of Velda’s Chair. We’ll show every aspect of building the chair, from procuring wood through the final assembly. The exact tasks that we cover in a given class may get massaged around a little as we go along, but we promise to finish in 10 episodes. Visit my website to register.
Here’s a few video clips from the Democratic Chair series with Curtis (filmed at the Woodwright School because my internet was out):
Using a Bowsaw (or turning saw):
Scorp Work:
Drawknife Cuts on the Seat:
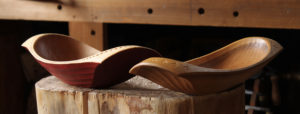
Chairmaker’s Woodturning Class, plus Bowl Carving with Dave Fisher
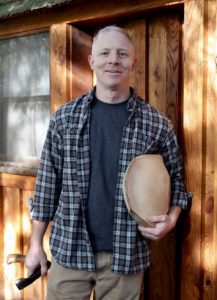
I remember the day I first heard of Dave Fisher. I was standing in front of my shop talking with one of my students about Instagram and he mentioned Dave Fisher. He seemed surprised that I’d never heard of him, so he pulled out his phone and started looking for Dave’s Instagram account.
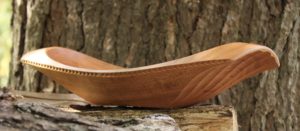
This is usually a non-starter for me. Most of the time I find myself gritting my teeth as I peer over the person’s shoulder at a tiny screen. But Dave Fisher’s work was different. Beautiful flowing curves and crisp tool marks filled the screen. They were, quite simply, the most beautiful wooden bowls I had ever seen. Beautifully photographed too!
Then Curtis Buchanan met him at Greenwood Fest and kept telling me what a nice guy he is. He’s been high up on my list of people I’d like to meet ever since. I am thrilled that he has agreed to teach a three-part bowl carving class with me. We’ll meet virtually for the first time during the class in a couple weeks.
The week before Dave’s class, I’m going to teach a class on Woodturning for Chairmakers. I’ve been intimidated about teaching woodturning online, but during the reamer class I realized that we have so many cameras that in some ways it might be better than learning in person. You can go practice, then watch the recording, then repeat over and over till you can turn your brain off and just turn. Here’s the scoop:
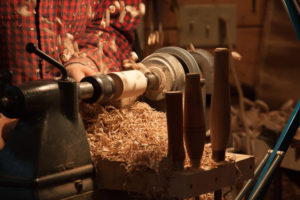
WOOD TURNING FOR CHAIRMAKERS with ELIA BIZZARRI; February 20th, 1pm Eastern
We’ll talk about turning green and dry wood, and look at how different wood species work in the lathe. Setting up the lathe will be discussed and we’ll look at a few different home-made tool rests. Techniques for sharpening and using the roughing gouge, spindle gouge, parting tool and skew chisel will be shown in detail. Elia will then turn samples of double-bobbin, baluster and bamboo chair legs and answer all your questions. $40 or pay-what-you-can – register on my Online Classes page.
In this first session, we’ll begin with the orientation of the future bowl in the log. We’ll go on to prepare the blank and use a compass in various ways to establish reference points for a symmetrical layout. We’ll learn adze and gouge technique for creating the hollow. We’ll leave time for questions and discuss managing green wood before and during the carving stages. $40 or pay-what-you-can- register on my Online Classes page.
BOWL CARVING with DAVE FISHER and ELIA BIZZARRI, Pt. 2: SHAPING the EXTERIOR, March 6th, 1pm Eastern
In this session, we’ll layout the foot on our still-green blank and learn a systematic approach to sculpting the complex exterior surfaces with an axe, a drawknife, and a gouge. Alternative tools and methods will also be discussed. We will take time to discuss drying procedures and other considerations to avoid cracking. Again, we’ll leave time for discussing questions thoroughly. $40 or pay-what-you-can – register on my Online Classes page.
After two weeks of drying, the green-carved bowls will be ready for the final transformation. We’ll learn various holding strategies as we refine the hollow and flatten the bottom. We’ll also explore various texturing options and fluting as we finish the side and end surfaces. We’ll refine the upper rim and cut the important final chamfers. We’ll also briefly explore various decorative options. Oil finishing will be discussed and there will be time for questions. $40 or pay-what-you-can – register on my Online Classes page.
Joe’s Backyard
 Last week I shipped a Continuous Arm Rocker to a customer in AZ. This is a story about his chair:
Seth and I stood in the yard and stared. Sheds and and lean-tos filled to overflowing with machines surrounded us; rusty mammoths from a bygone age. Machines that didn’t fit inside were scattered between the buildings, rusting in the damp North Carolina weather. The runt of the litter weighed over a thousand pounds.
We were in Joe Hunt’s yard, and he was giving us a tour. “This is an awesome machine — it’s a Oliver 14″ tablesaw with a 10hp motor. Do you want it? You wouldn’t believe what it can do. Just a little work and it’ll run like a top. I’ll bring it over to your place next week.
“We built our house with the machines. We made the windows and doors, cabinets, trim… Everything. read more…
Fan Birds with Jane Mickelborough/Chairmaking Videos

I first met Jane Mickelborough when she spent three days with me and taught a class on spooncarving in my shop. They spent a day carving the spoon, a day chip carving and a day doing wax inlay. Her work is beautiful, with lovely lines and extraordinarily detail. She’s a kind and generous teacher.
Teaching online has it’s challenges. Is anyone really there? Am I making any sense? It can be hard to tell. But one of the most exciting parts of teaching online is the ability to connect with people I would never get to work with otherwise. Jane lives in France and yet we can teach a class together. Magic!
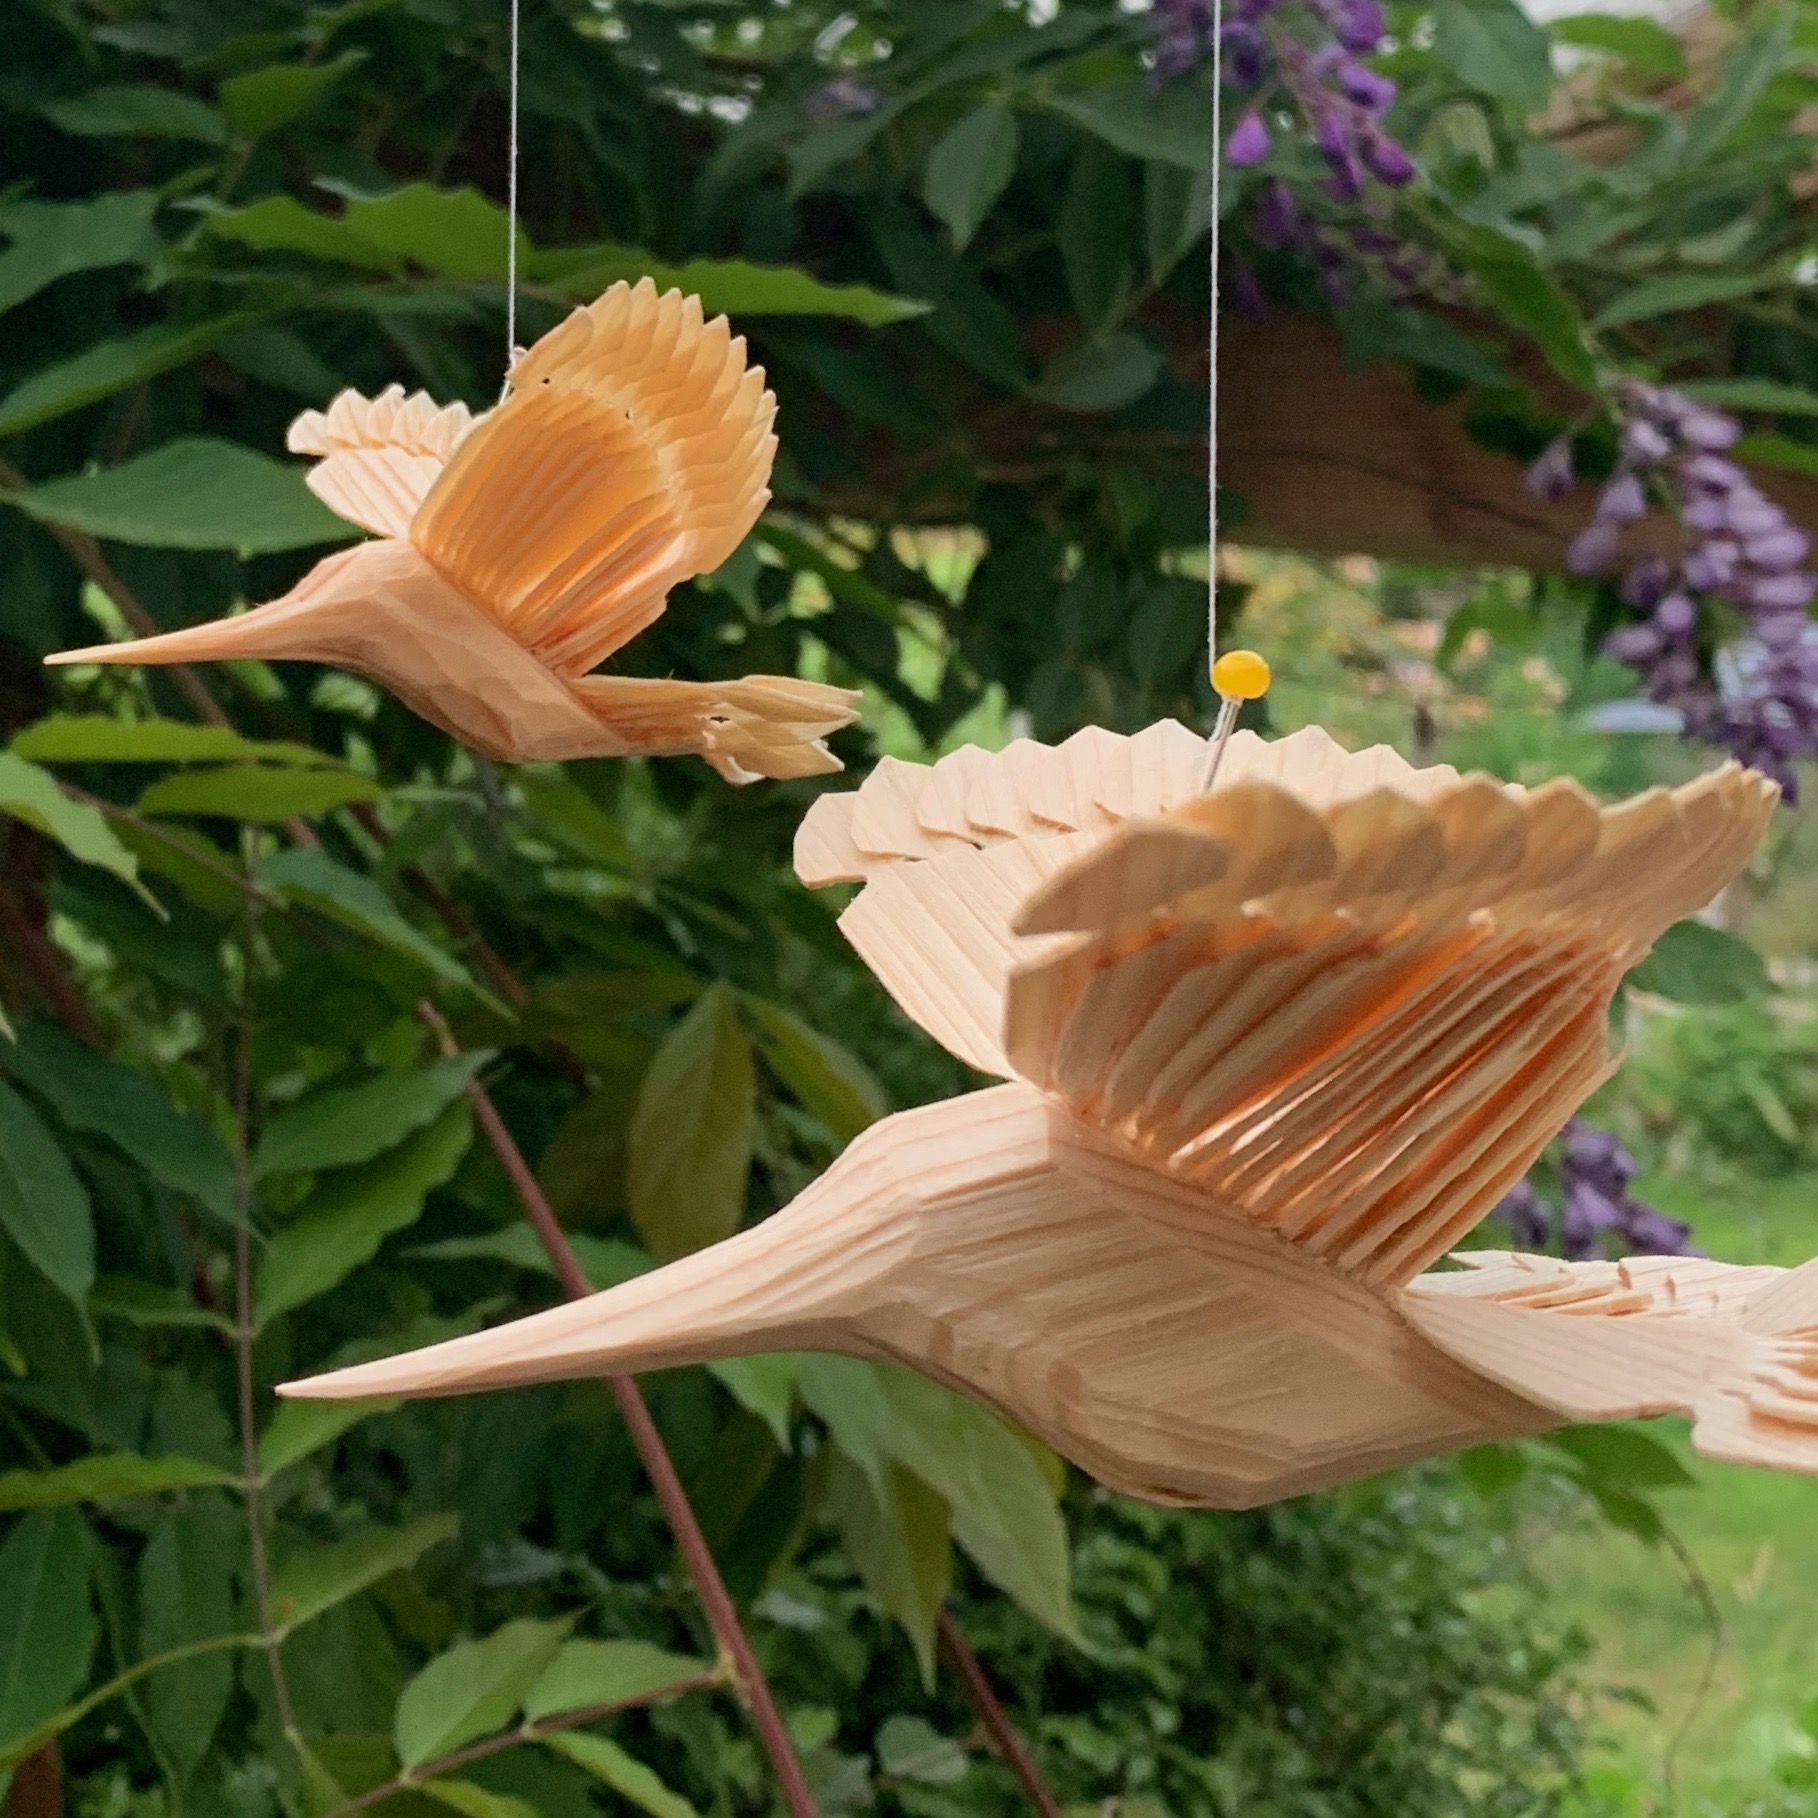
Jane Mickelborough will join us from France as she teaches us to make traditional Scandinavian and Russian fan birds. These magical birds can be carved and bent from a single piece of wood in a matter of minutes. Jane usually makes them in the style of hummingbirds with long beaks, but the techniques can be used to make dolls, mobiles and earrings and more. It’s the perfect craft to learn right before Valentine’s Day!
Jane and Elia will demonstrate how to carve, split and bend the feathers, talk about tools, make a few birds, show some short how-to videos, and answer all your questions. $40, or pay-what-you-can.
Here’s some clips from my Democratic Chair Class with Curtis Buchanan. I am hammering – and Curtis is ironing – out the details of a series on making his Velda’s chair, both as a rocker and an armchair. It will start sometime in March – more details soon.
Why do we ream?
read more…
Old Spoon Videos
I have a ball last weekend carving spoons with Peter Follanbee and am looking forward to this weekend’s class. Peter has everything – the deep voice, the big personality, mad skills and a flowing beard. What more could you want?
went back and watched a couple of my favorite spoon videos. I like the juxtaposition between the two videos. The first fellow is working similarly to the way most of the modern ‘spooners’ work – few tools and no work-holding devices make for a wonderful minimalism. The fellow in the second video is set up to carve spoons the way most of us chairmakers are set up to make chairs – specialized tools, a shaving horse – the fellow is set up to make spoons by the thousands.
Filmed in 1998 in Romania, the first half of this video is a slideshow, but there’s still lots to see. It looks like Ion Constantin (the spoon carver) is using a single-bevel hatchet to hew his spoon out. He seems to use his bowl adz to deepen the neck of the spoon, where his ax wouldn’t fit because of it’s shape. Who would have thought! read more…
Spoons with Follansbee & Reamer-Making Class
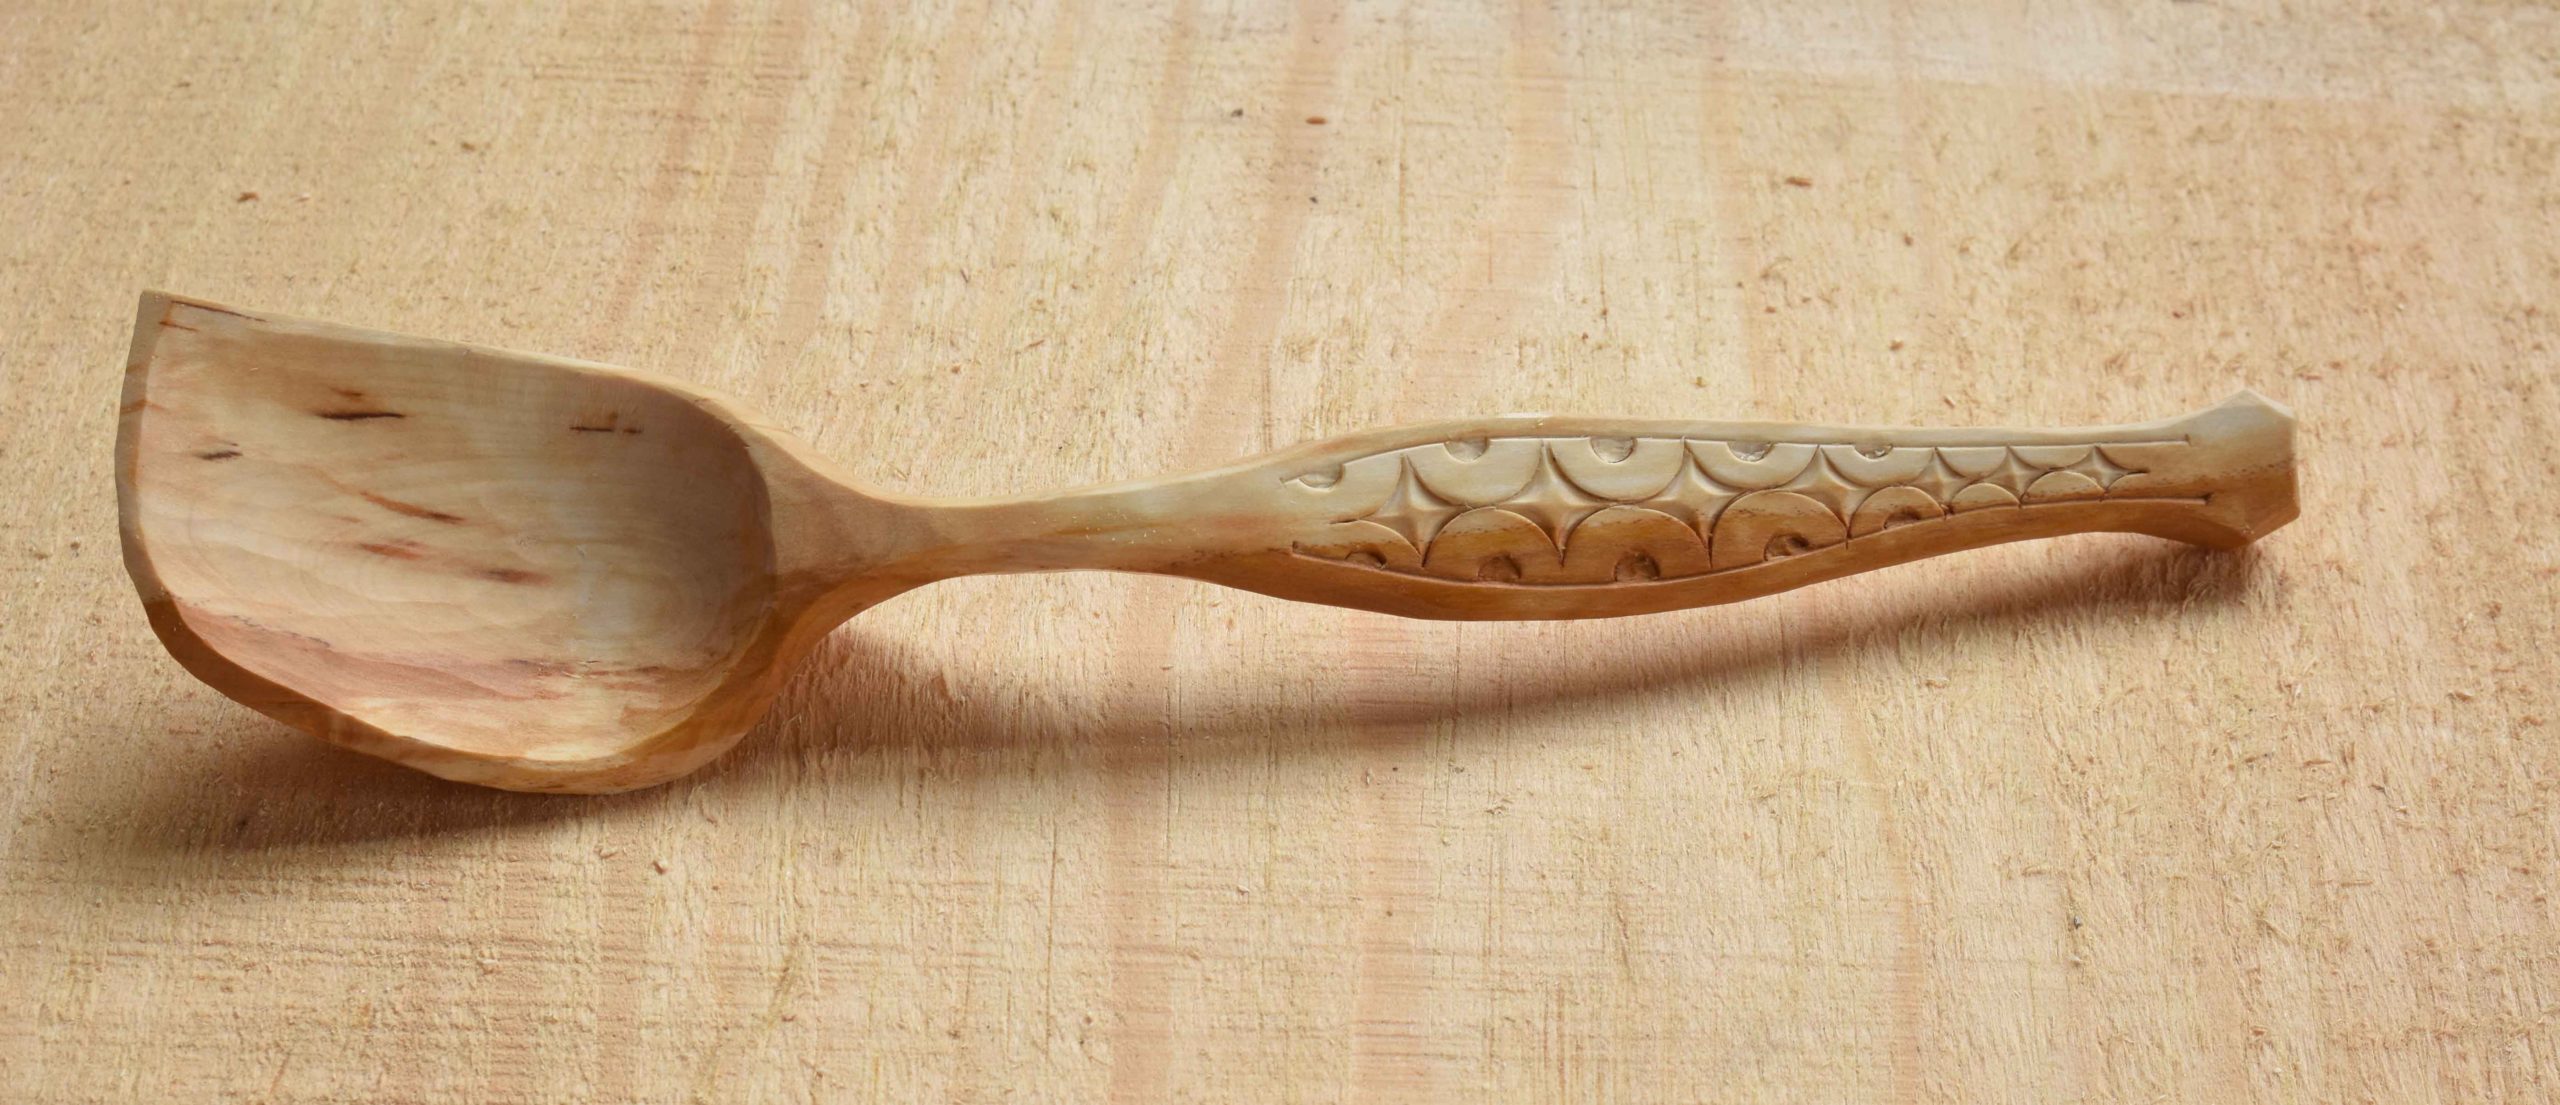
I’ve been looking forward to doing this class for a few months – I first learned to carve a spoon properly in one of Peter’s classes and he is such a laid-back, entertaining fellow that the idea of teaching with him sounds like great fun. We’ll carve a spoon similar to the one in the photo above, with Peter demonstrating the technique and me following along under Peter’s supervision. Should be a hoot.
SPOON CARVING CLASS Pt. 1: HEWING THE BLANK January 9th, 1pm Eastern
SPOON CARVING CLASS Pt. 2: KNIFE WORK January 16th, 1pm Eastern

I first started making reamers about 15 years ago. They were pretty bad back then, but I’ve made a few thousand reamers since and have learned quite a bit. I’ve wanted to write a reamer-making series on my blog for years, but technical writing is quite fussy work and I never quite got to it. So I’m excited to be able to do it on video, where you can see what the heck is happening. We’ll cover everything from making a blade from a piece of scrap steel to adding an adjustment screw, with lots of time spent on getting the reamer to cut well. I am also selling a reamer kit of the wood and metal you need to build a reamer to go a long with the class (but you can also scrounge the materials locally – we’ll talk about that during class).
MAKE A REAMER Pt. 1 with ELIA BIZZARRI January 23rd, 1pm Eastern
MAKE A REAMER Pt. 2 with ELIA BIZZARRI January 30th, 1pm Eastern
Here’s a few clips from the democratic chair series:
Kiln Construction and Drying Wood
read more…
Green Wood Source List: By You for You
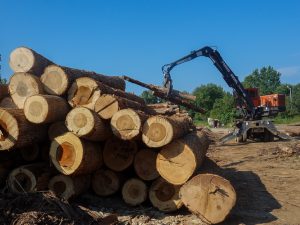
Where do you get green wood? I get this question regularly and it’s a hard one to answer. Seth and I sell oak splits for chairs, but it’s not exactly cheap if you need a bunch of parts. My blog has general suggestions for where to look, but wouldn’t it be nice if there was a list of specific places to call near you. I hope this will become that list.
This is an online spreadsheet that anyone can edit. There’s spots for sources anywhere in the world. Add any sources you know about. And spread the word to your green woodworking friends. Together we can make a valuable resource for green woodworkers. Thanks!

Here’s a short clip from the Democratic Chair Series for your edification and entertainment:
Shaving Horse Geometry (how to get a good grip!)
Democratic Videos and Upcoming Online Classes
Peter Follansbee and I are planning on a few spoon carving classes in the new year, plus I’m hoping to do a series on making a chairmaking reamer. In the mean time, Curtis and I are doing the last two classes of the Democratic Chair series on October 5th and 12th (we might possibly add a class on the 19th if need be).:
BACK ASSEMBLY Dec. 5th, 2-4pm Eastern
We’ll bore crest mortises in the posts, tenon the crest, bore spindle mortises, then tenon and clean up the spindles. With any luck, we’ll have the chair fully assembled by the end of this class. Plus Q&A session.
MILK PAINT FINISH Dec. 12th, 2-4pm Eastern
We’ll talk about preparing the surface of the chair for paint, mixing and applying milk paint, bruch choices, rubbing the paint out to create a sheen, and top coat options. Plus Q&A session. (this is probably the last class of the Democratic Chair series, but there’s a chance we’ll need to add a class on Dec 19th to finish things up).
Here’s some clips from the first couple classes: